
This is a simple, fluffy and delicious Bread Machine Garlic Bread full of fantastic garlic flavor. It will make your house smell great and your tastebuds wishing for more! You'll love this bread for dipping into soups and stews and enjoying as morning toast.
Making garlic bread in your bread machine is super easy too. Just add all the ingredients and let it do the work for you. You can make this on the dough cycle and bake it in the oven or use the white/basic cycle and cook it in your bread machine.
I first made this to go with Instant Pot broccoli cheddar mac and cheese on one of the first chilly nights of the season. It was so good that we ate almost half the loaf before dinner was even ready. It take a few test runs to get it the best it could be, but eventually the perfect recipe was made!
It's the base recipe that I used to create this super fluffy and amazing classic white bread and 100% whole wheat bread.
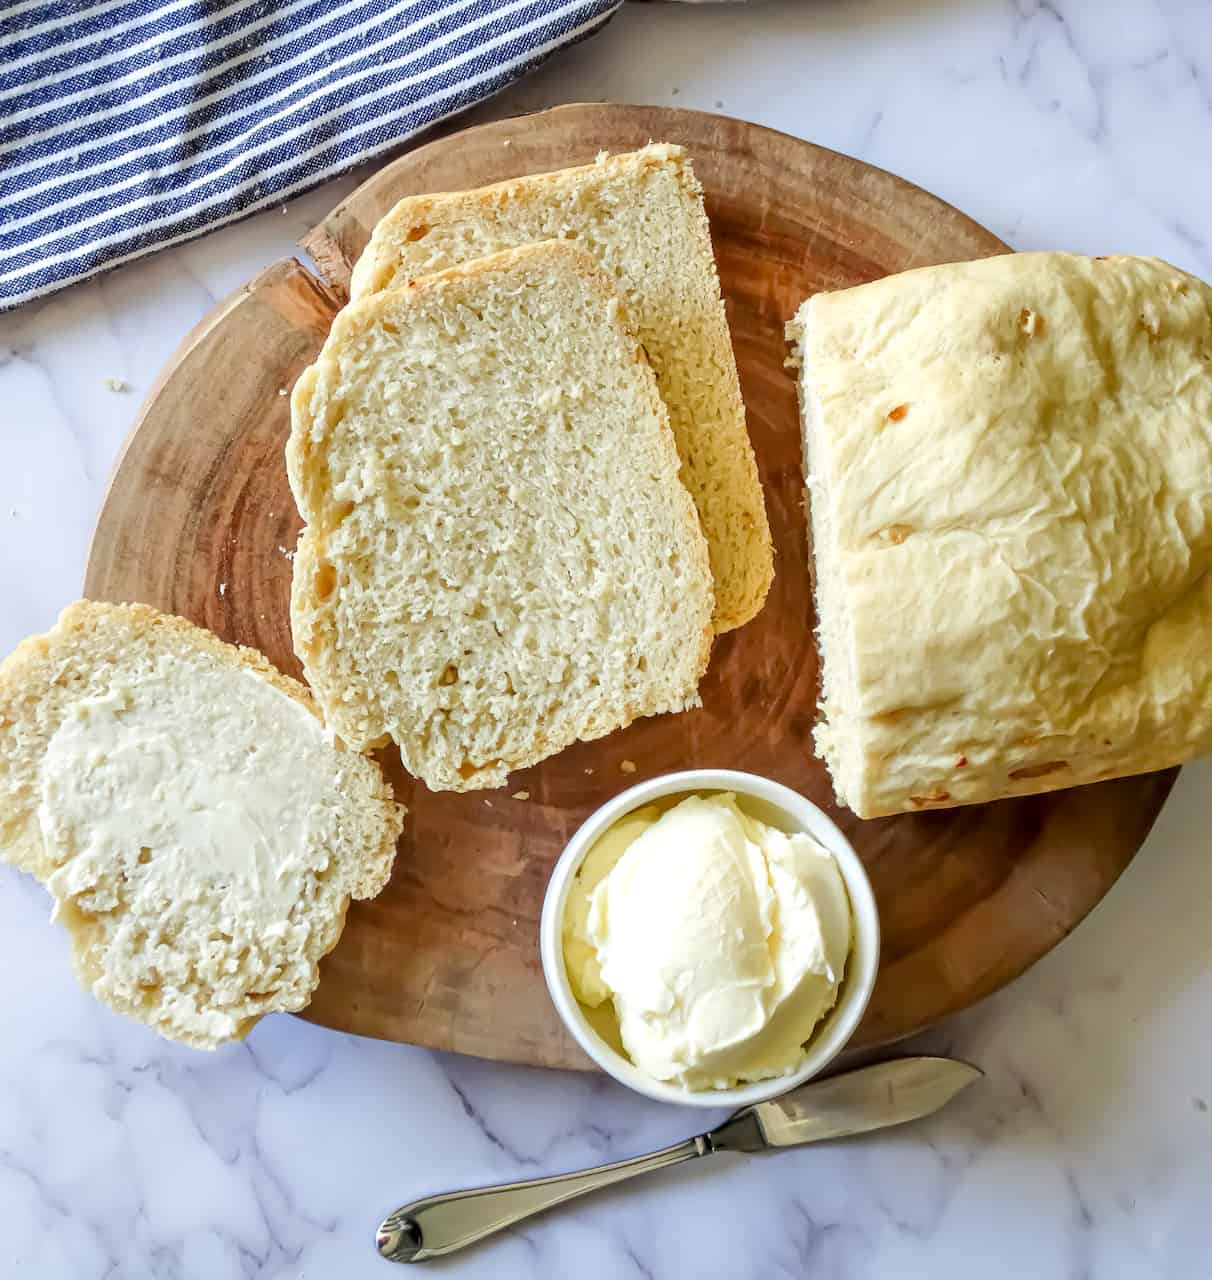
Table Of Contents
Bread Machine Recommendations
A bread machine is a worthwhile kitchen investment for every baker. It takes the elbow grease out of making bread, dough, and jam.Instead of kneading bread yourself, the bread machine does it for you. Instead of timing the resting stage of yeast breads, the bread machine does it for you. And instead of dirtying multiple bowls, the bread machine becomes a 1 pan mixer, riser, and cooker!
I own a well-loved Cuisinart Automatic Bread Maker with 3 loaf size options: 1, 1.5, and 2 pounds. It comes with 12 different functions and 3 crust colors as well. I also recently invested in the Zojirushi Virtuoso Plus and highly recommend it too!
If you're new to bread making or are having issues with getting your bread to turn out, check out my complete guide to using a bread machine and my guide to using your bread machine for the first time.
Ingredients
The second best thing compared to freshly baked bread, is knowing that there are minimal ingredients in it. This recipe needs just 5 ingredients:
- Warn water
- Olive oil
- Salt
- Sugar
- Bread flour
- Yeast: use instant yeast, or bread machine yeast.
- Garlic: raw garlic can kill yeast, so you'll need to saute the garlic cloves for a minute. Or you can use than use roasted garlic.
make it great
Kristina's Tips
- Watch the dough for the first 5-10 minutes. If it is too crumbly, add more water and if it's too wet, add a bit more flour until a soft, tacky ball forms.
- Use a thermometer to make sure your water is not too hot nor too cold. Water that is too cold will not activate the yeast and water that is too hot will kill your yeast. Both will cause your bread not to rise.
- The best type of flour to use in this recipe is bread flour. The difference between bread flour and all-purpose flour is the protein content. Bread flour has a higher protein content and will rise slightly more and absorb a little more water than all purpose flour. How does this affect homemade garlic bread? Using bread flour will give you a little more rise, fluffiness, and softness. Stick with bread flour for any yeast bread whenever possible.

Instructions
Bread machine garlic bread is a 2 step recipe. It doesn't get easier than that, and that is why I love using my bread machine!
- In a small frying pan, saute the minced garlic in a little olive oil or butter for 1-2 minutes.
- Add all ingredients to the bread pan in the order listed. Set the machine to the basic/white bread function, choose the 1.5 lb loaf size and preferred crust color. Select start. Watch the dough for the first 5-10 minutes. If it is too crumbly, add more water and if it's too wet, add a bit more flour until a soft, tacky ball forms.
- Once the bread is finished, remove the pan from the machine using an oven mitt. Shake the bread out onto a wire rack and let cool for 10 minutes before slicing.
To bake it in the oven, use the dough cycle. After the cycle completes, remove the dough, shape into a ball and let rise in a warm place until doubled in size, about 40 minutes. Bake at 350 degrees Fahrenheit for 35-45 minutes, or until the internal temperature is at least 180 degrees.

Recipe Notes
Make sure you do not use raw garlic! Raw garlic inhibits the yeast and you'll get a dense loaf or one that doesn't rise properly.
In addition to eating garlic bread warmed with a little butter on top or dipped into your favorite pasta sauce on pasta night, it's great with these recipes:
- Toast and topped with Balsamic Bruschetta
- A side for One Pot Ricotta Lemon Pasta
- A dipping bread for Vegetable Soup with Noodles
- A dipping bread for Spinach Tortellini Soup with Parmesan
- Easy Instant Pot Chili
- As the bread on top of Traditional French Onion Soup
How To Store
Homemade garlic bread is freezer-friendly and can be stored for up to 6 months in an airtight plastic bag. It keeps well at room temperature for around 3 days and in the fridge for around 5. However, the fridge will cause bread to slightly dry out, so I recommend storing it at room temperature or in individual slices in the freezer. Then you can pull them out to use when needed without worrying your bread will be stale!
Recipe

Bread Machine Garlic Bread
Ingredients
- 1 cup warm water approximately 110°F
- 3 tablespoon extra virgin olive oil
- 1 teaspoon salt
- 1 tablespoon sugar
- 3 cups bread flour
- 2 tsp yeast instant or bread machine
- 8-10 cloves garlic or roasted garlic
Instructions
- In a small frying pan, saute the minced garlic in a little olive oil or butter for 1-2 minutes.
- Add the ingredients in the order listed to the bread maker pan. Select the basic/white bread setting, choose the 1.5 lb loaf size and your preferred crust color. Watch the dough for the first 5-10 minutes. If it is too crumbly, add more water and if it's too wet, add a bit more flour until a soft, tacky ball forms.To bake in the oven, use the dough cycle. After the cycle completes, remove the dough, shape into a ball and let rise in a warm place until doubled in size, about 40 minutes. Bake at 350 degrees Fahrenheit for 35-45 minutes, or until the internal temperature is at least 180 degrees.
- When baking is complete, remove and cool on a wire rack for 10 minutes before slicing.


Mel says
Ummmm...fresh garlic and yeast?? Those 2 are mortal enemies. You'd have to roast or otherwise defeat the anti-microbial properties of fresh garlic if you want yeast to live and give this loaf a good rise.
Tenisha M Williams says
I wish I read this comment before waste 3 hours no rise for me
Liz says
Same here. My husband and son made it and it was a rock. I thought maybe they did something wrong so I just started it but didn’t see this comment until AFTER I already put the garlic in.
I may try it one more time and add the garlic after the rise cycle and see how it turns out.
As of now I tried to mitigate by adding an extra 1/2 tsp of yeast and a pinch of sugar to help feed it. I’m also going to pause while it’s rising to give it some more time. Fingers crossed.