Bread Machine Garlic Bread
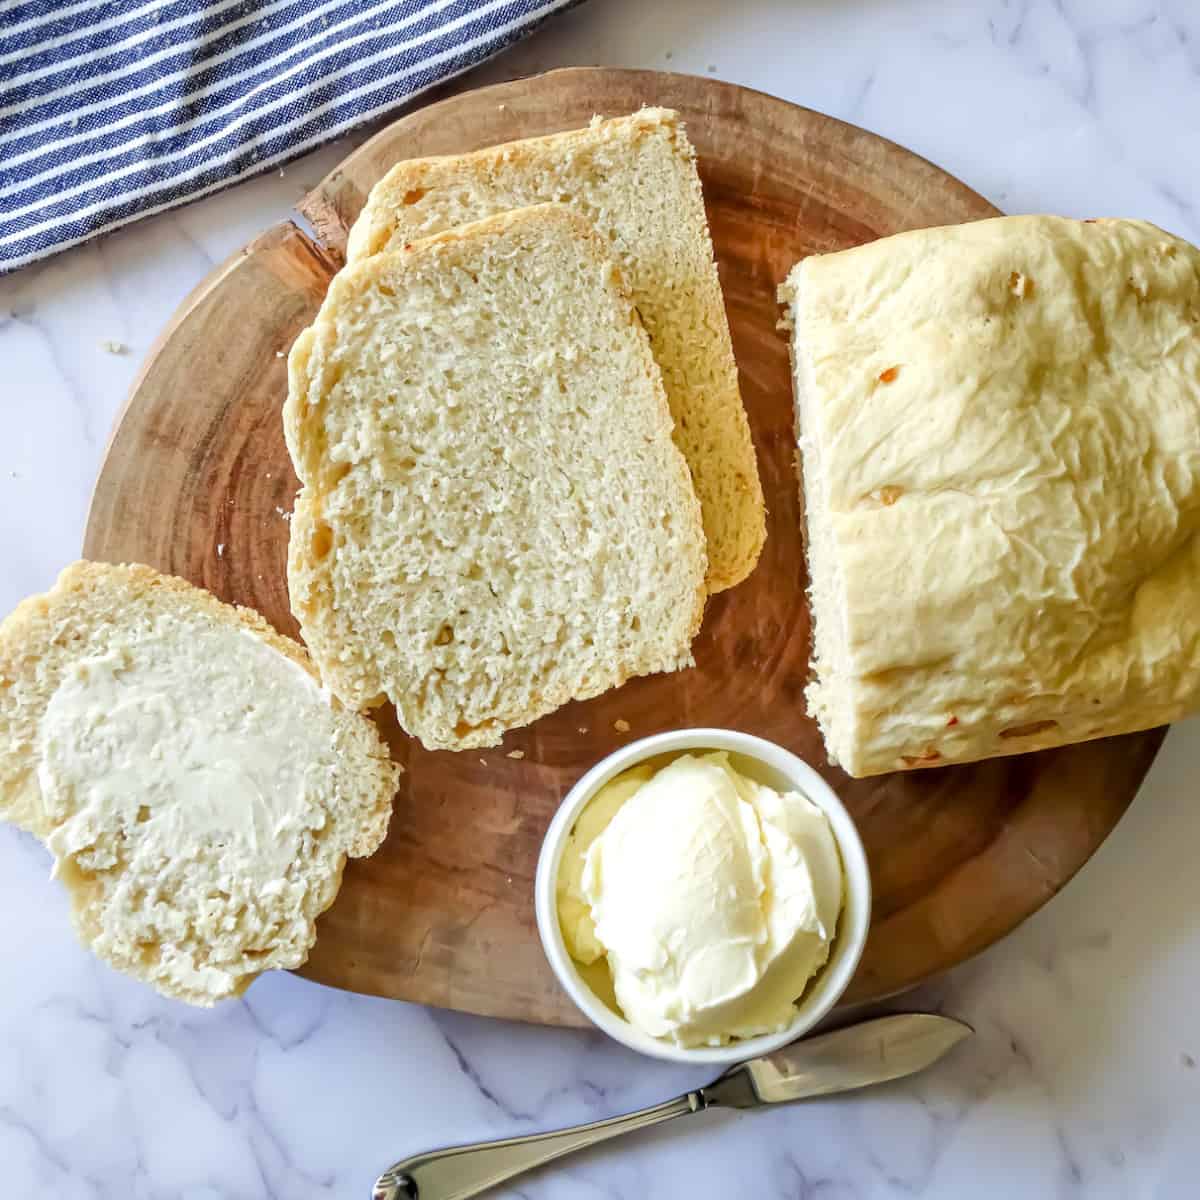
This is a simple, fluffy and delicious Bread Machine Garlic Bread full of fantastic garlic flavor. It will make your house smell great and your tastebuds wishing for more! You'll love this bread for dipping into soups and stews and enjoying as morning toast.
Servings: 12
Calories: 152kcal
Ingredients
- 1 cup warm water approximately 110°F
- 3 tablespoon extra virgin olive oil
- 1 teaspoon salt
- 1 tablespoon sugar
- 3 cups bread flour
- 2 tsp yeast instant or bread machine
- 8-10 cloves garlic or roasted garlic
Instructions
- In a small frying pan, saute the minced garlic in a little olive oil or butter for 1-2 minutes.
- Add the ingredients in the order listed to the bread maker pan. Select the basic/white bread setting, choose the 1.5 lb loaf size and your preferred crust color. Watch the dough for the first 5-10 minutes. If it is too crumbly, add more water and if it's too wet, add a bit more flour until a soft, tacky ball forms.To bake in the oven, use the dough cycle. After the cycle completes, remove the dough, shape into a ball and let rise in a warm place until doubled in size, about 40 minutes. Bake at 350 degrees Fahrenheit for 35-45 minutes, or until the internal temperature is at least 180 degrees.
- When baking is complete, remove and cool on a wire rack for 10 minutes before slicing.
Notes
Storing: It keeps well at room temperature for around 3 days and in the fridge for around 5. It can be frozen for up to 6 months in an airtight plastic bag.
Tip 1: Watch the dough for the first 5-10 minutes. If it's too crumbly, add more water and if it's too wet, add a bit more flour until a soft, tacky ball forms.
Tip 2: Use a thermometer to make sure your water is not too hot nor too cold. Water that is too cold will not activate the yeast and water that is too hot will kill your yeast. Both will cause your bread not to rise.
Tip 3: The best type of flour to use in this recipe is bread flour. The difference between bread flour and all-purpose flour is the protein content. Bread flour has a higher protein content and will rise slightly more and absorb a little more water than all purpose flour. How does this affect homemade garlic bread? Using bread flour will give you a little more rise, fluffiness, and softness. Stick with bread flour for any yeast bread whenever possible.
Nutrition
Serving: 2oz | Calories: 152kcal | Carbohydrates: 25g | Protein: 4g | Fat: 4g | Saturated Fat: 1g | Polyunsaturated Fat: 1g | Monounsaturated Fat: 3g | Sodium: 195mg | Potassium: 44mg | Fiber: 1g | Sugar: 1g | Vitamin A: 1IU | Vitamin C: 1mg | Calcium: 9mg | Iron: 0.4mg
