
Whether you've just unboxed your first machine, are deciding whether to purchase a bread maker, or you've been baking with one for years and want better results, this guide covers the need-to-know basics for every level baker. How bread machines work, what the settings do, what to do when things go wrong, and how to experiment far beyond basic white breads are all covered to give you the best experience.
Fresh bread without any of the kneading or guesswork- that's the promise of the bread machine! And when you know how to use one well, it delivers every time. Once you're ready to bake your first loaf, follow this simple guide to getting it right.
Table Of Contents
- How A Bread Machine Works
- What A Bread Machine Can Do
- What It Can't Do
- Bread Machine Settings Explained
- Ingredients: What To Use And Why
- The Order To Add Ingredients
- Troubleshooting Common Problems
- Bread Machine Tips For Better Results
- Frequently Asked Questions
- Bread Machine Recipes To Try Now
- Recipe Reviews
How A Bread Machine Works
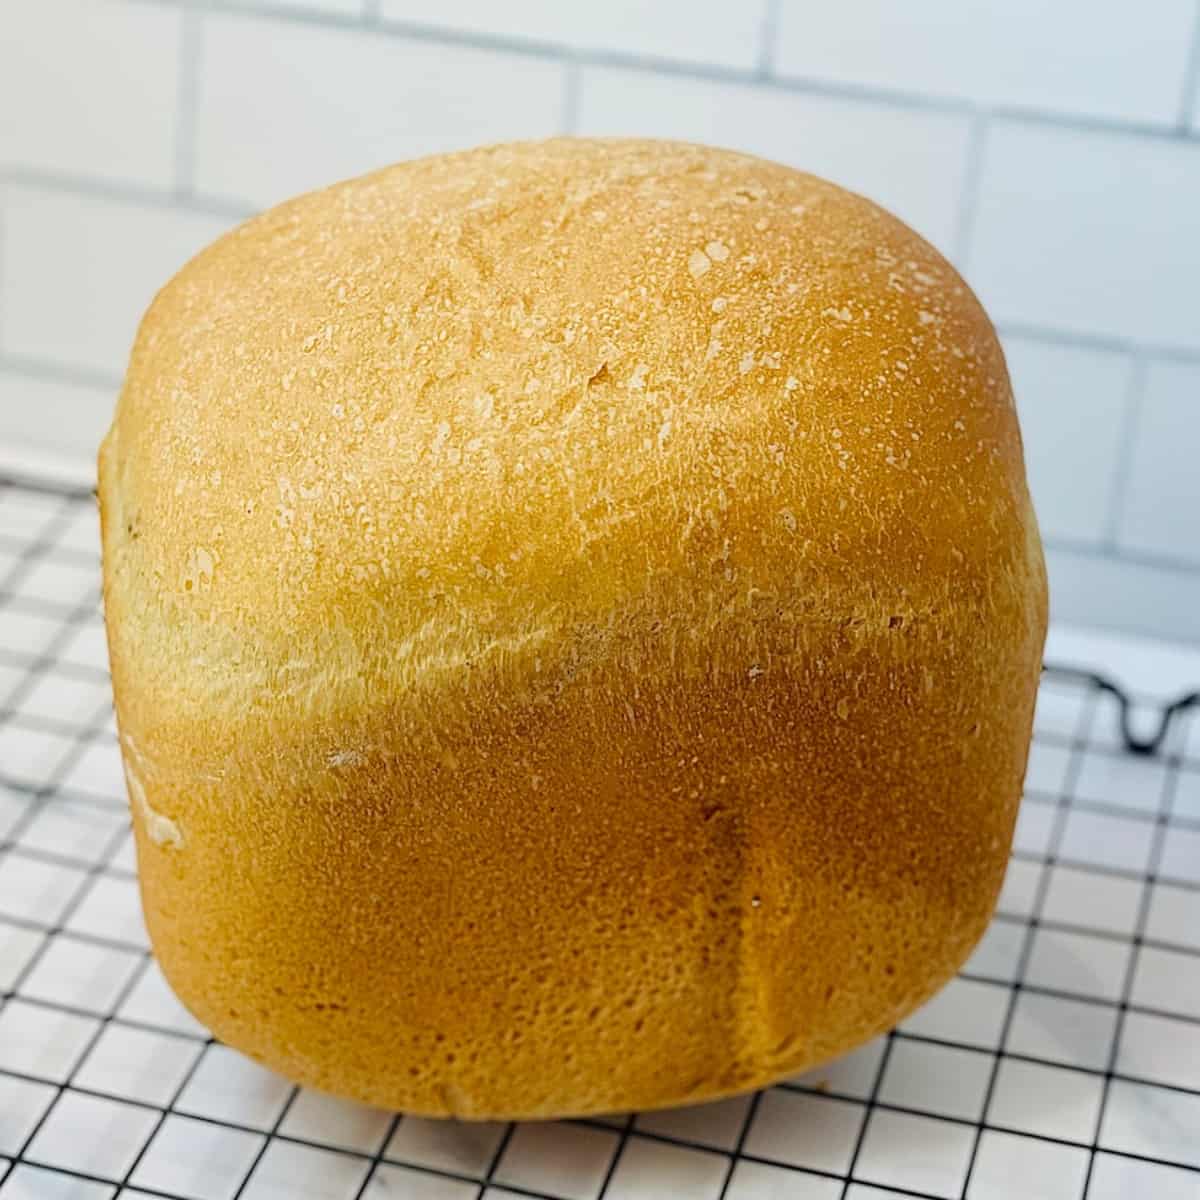
A bread machine is a countertop appliance that handles every stage of bread making in a single pan- the kneading, proofing and baking. You add the ingredients, select the cycle and press start. About 3-4 hours later you'll have a freshly baked loaf ready to eat.
Your job is minimal, and that's the best part. The machine's paddle kneads the dough by rotating at the bottom of the pan. The heating elements maintain the exact temperatures needed for each phase of the process (cooling while mixing, warming while rising, and heating while baking). The entire cycle is controlled and timed automatically.
Because bread making is sensitive to temperature and timing, this takes all the guesswork out of it for you, making great recipes fail proof (most of the time but we'll get to that later). A bread machine removes many of the variables that can make home baking feel overwhelming.
What A Bread Machine Can Do
- Mix, knead, proof and bake a complete loaf hands-free
- Make dough for rolls, pizza, cinnamon buns, crescent rolls and more using the dough cycle
- Bake quick breads and cakes that use baking powder/soda instead of yeast
- Delay the start time so bread is ready when you want it to be
- Make jams
What It Can't Do
- Compensate for inaccurate measurements or bad ingredients (like expired yeast)
- Replace intuition completely- dough still needs to be checked while kneading and adjustments for outside variables still have to be considered (like high humidity and altitude)
- Produce artisan-style open crumbs or crackling crusts (but the dough can still be made in a bread machine and then baked in the oven to do this)
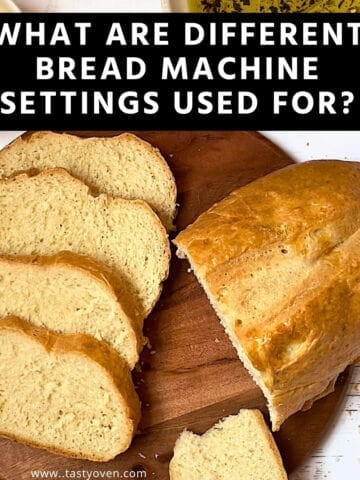
Bread Machine Settings Explained
Bread machines have multiple cycles or course settings. They might vary slightly by brand, but they will likely be the same or very similar to the list below. Knowing what each one does helps you choose the right setting for the bread you're making.
1. Basic/White Cycle
Considered the "default" setting used for most white and light breads, and those that use a combination of white and whole wheat flours. The basic cycle includes a knead, two punch downs or rises and a bake. Most bread machine recipes are written to use this cycle if another isn't specified.
Use it for white sandwich bread, honey wheat bread, and cheese herb bread. This list of the 10 best cheese breads all use the basic cycle too.
2. Whole Wheat Cycle
The whole wheat cycle has longer mixing and rising times because of the heavier and denser dough. Whole wheat flour absorbs liquid more slowly and needs more time to develop gluten. If you use the basic cycle for whole wheat breads, you'll get a brick-like loaf.
Use for 100% whole wheat bread, multigrain breads and high-fiber loaves.
3. Sweet Cycle
The sweet cycle adjusts the bake temperature downward to prevent over-browning. Breads with significant amounts of sugar, honey or molasses can burn easily because sugar caramelizes quickly.
Use for Hawaiian sweet bread, cinnamon raisin bread, and recipes where sugar is the main focus
4. Rapid/Quick Cycle
This cycle shortens the time to 60-90 minutes. It has a shorter rise time, which means less chance for the flavors to develop and usually a denser loaf. Some machines will tell you to use more yeast when using the rapid cycle.
Use for days when you want bread fast and the flavor is secondary.
5. Dough Cycle
Mixes and kneads the dough, then has one rise and does not bake. You remove the dough, shape it by hand, let it rise a second time, then bake in your oven. To me, this is the most useful setting on the machine (see the full dough cycle guide below), because you can use it to make most breads from the other cycles but would prefer to bake in the oven to control the shape.
Use for naan bread, thin crust pizza dough, hamburger buns, traditional pizza dough, focaccia, and other breads where you want to control the shape.
6. Gluten-Free Cycle
This cycle has a shorter rise time and should be used only for gluten-free breads.
7. Cake/Quick Breads
This cycle is for non-yeast breads that use baking powder or baking soda as the leavening agent. It's a shorter cycle than the others and is used for making banana bread, zucchini bread, pound cakes and any other quick bread.
Want a more in-depth guide to what cycle to use for what kind of bread? Check out my bread machine settings explained guide!
Crust Settings
Most machines let you choose the crust color: light, medium or dark. This is a matter of personal preference but also depends on your machine. Some machines will burn the bread on dark. Medium is a good starting point until you learn more about your machine.
Size Settings
Some machines include an option for loaf size: 1, 1.5 and 2 pound loaves). If your machine has this setting and the recipe doesn't indicate what size loaf it is, a general reference is:
2 cups flour: 1 pound
3 cups flour: 1.5 pounds
4 cups flour: 2 pounds
Mix-Ins Option
The mix-in setting tells you when to add extra ingredients like nuts, dried fruits, chocolate chips or seeds during the kneading process. It's usually 5-10 minutes before the kneading cycle ends and the machine will beep to let you know it's time to add them. This prevents delicate ingredients from being crushed and ensures even distribution throughout the loaf.
The Delay Timer
The delay timer lets you add ingredients, set a delayed start time and come back to bread when you want it done. This setting works for recipes that include shelf-stable ingredients only.
You shouldn't use the delay start for recipes with fresh milk, eggs, cheese, meat, or fresh fruit or vegetables.
Ingredients: What To Use And Why
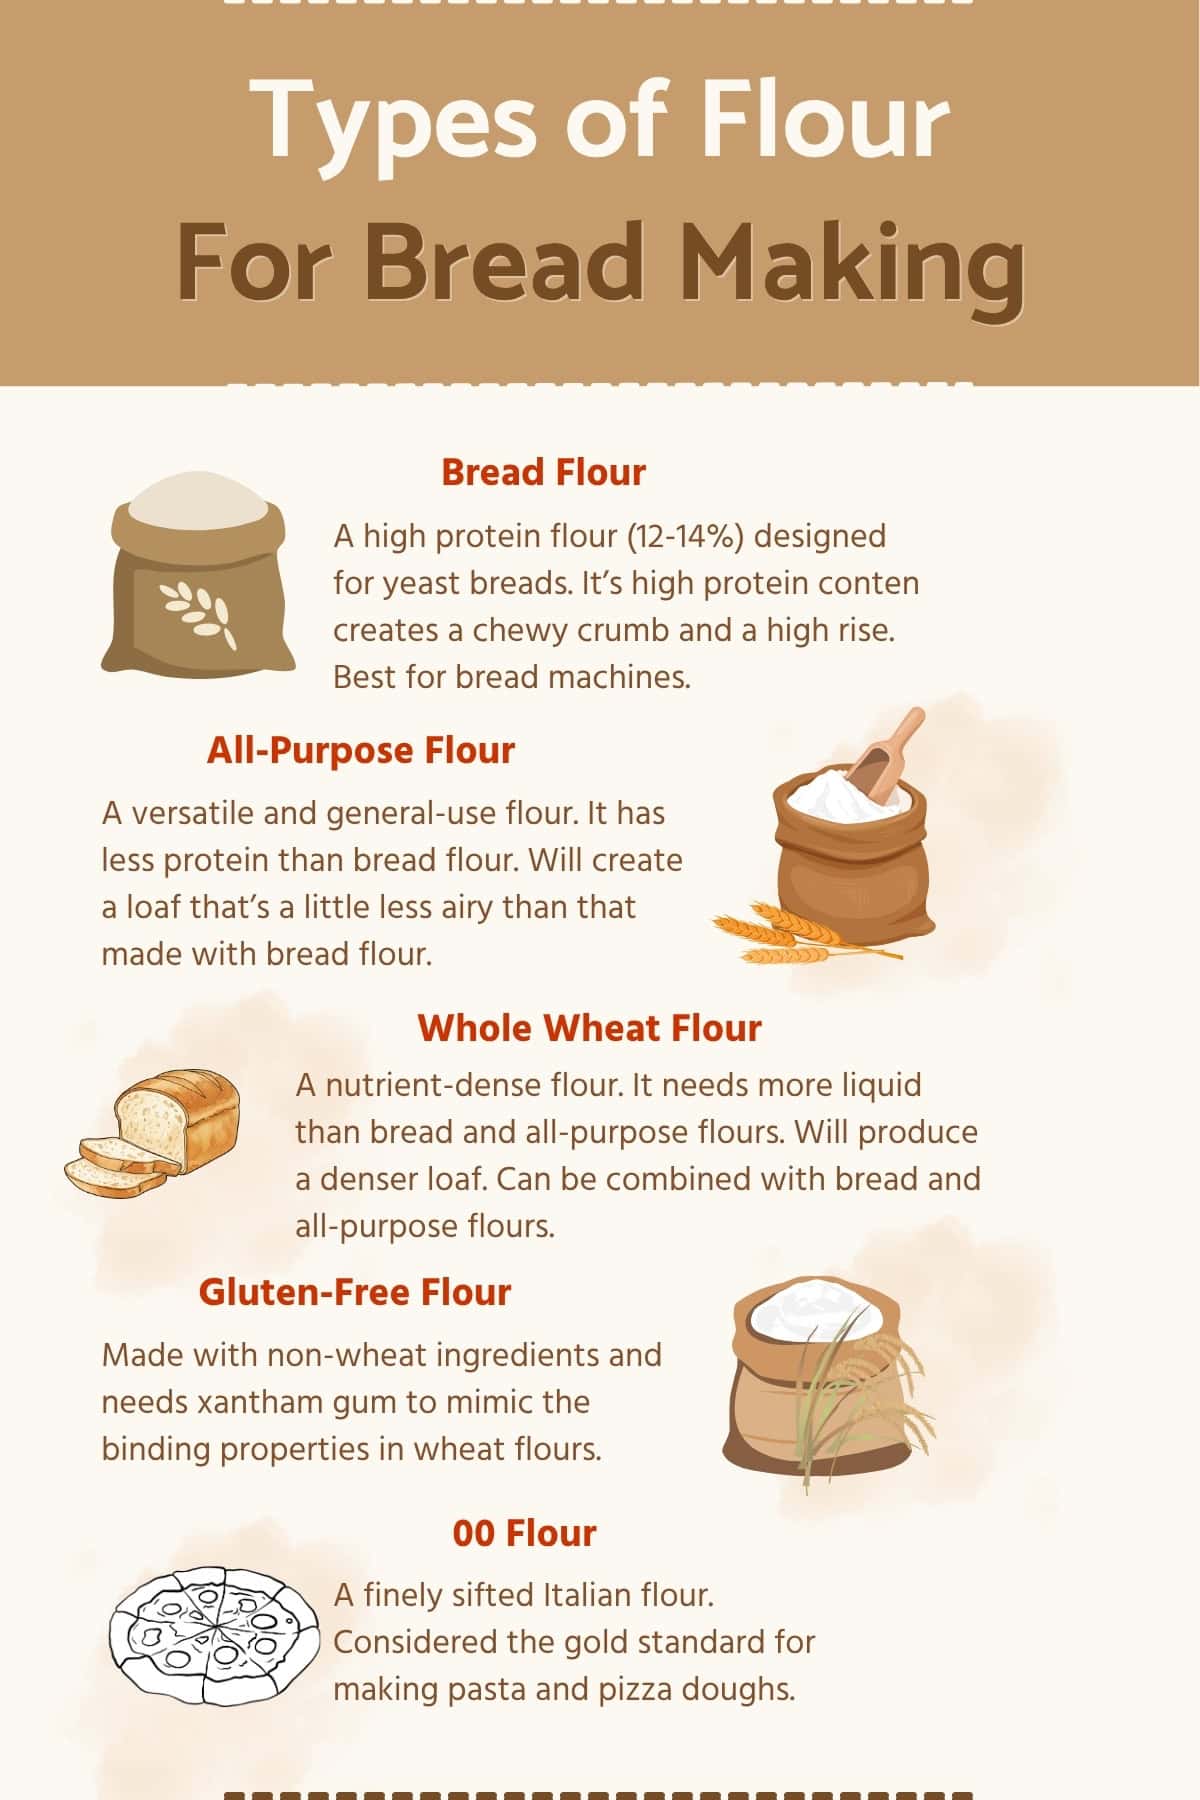
- Flour: Bread flour is the best choice for bread machines. It has a higher protein content than all-purpose flour and creates a stronger gluten structure. This gives bread it's chewy texture and helps bread to rise. All-purpose flour will work but the loaf may be slightly denser and less chewy. You can add a teaspoon of vital wheat gluten per cup of flour to get a better rise and a more chewy texture.
- Vital wheat gluten: This is optional but recommended for whole wheat breads and when using all-purpose flour. It will strengthen the gluten structure, help bread rise, and give it a more chewy, soft and fluffy texture. You can also use vital wheat gluten if you think the yeast may not be fully "alive".
- Yeast: Yeast is a living organism that feeds off sugar. Using fresh yeast and the right type is the biggest factor in whether or not bread will rise. Bread machine yeast, instant yeast, and rapid rise yeast the best for bread machines because they don't require proofing. If a recipe just says "yeast", choose one of these. Active dry yeast can be used, but it's slightly less reliable. This yeast requires proofing in general, but when using in bread machines you can skip this. However, some bakers proof active dry yeast. I'd stick with using instant yeast for the most reliable results.
- Liquids: Water is most commonly used, but milk produces a softer crumb and buttermilk adds a tangy flavor. Temperature is important. 110-115 degrees Fahrenheit is ideal. Temperature below 100 degrees can keep the dough from rising and those above 120 degrees will kill yeast.
- Salt: Salt plays 2 important roles. First, it controls the yeast activity to prevent overproofing. Second, salt strengthens gluten structure. Don't skip it and don't add it directly in contact with the yeast. Use the amount a recipe calls for and don't reduce otherwise the loaf may collapse.
- Fats: Butter, oil, and eggs. These add richness to the bread. They're usually added with the liquids in most machines, before adding the flour.
- Sugars and Sweeteners: Sugar feeds yeast and adds a bit of flavor and tenderness. You can use white sugar, brown sugar, coconut sugar, etc. Honey, maple syrup and molasses are all sweeteners that can be used with traditional sugar or on their own. If using more than a few tablespoon of sweeteners, use the sweet bread cycle to prevent burning.
The Order To Add Ingredients
Always add the ingredients in the order that your manual states. If you don't have a manual, the rule of thumb is:
- Liquids
- Fats, such as butter, eggs and oil
- Salt
- Sugar
- Flour (and vital wheat gluten if using)
- Yeast
Troubleshooting Common Problems
Bread Didn't Rise
The most common cause is dead or expired yeast. Check the date on the package and discard yeast that's expired. Even unopened yeast will lose it's activeness over time. If you're unsure if your yeast is still good, mix ¼ teaspoon with 1 cup warm water, wait 10 minutes and check if it's foamy. If it's foamy, it's alive and can be used.
Other causes might that the yeast and salt came in contact before kneading began, the liquid was too hot, the wrong cycle was used or there was too much salt.
Bread Rose, Then Collapsed
Often caused by overproofing. To prevent a collapsed loaf, reduce the yeast by ¼ teaspoon, reduce the sugar in recipes that call for a lot of it, and don't open the lid while it's rising. Try these fixes one at a time, so you know which one kept your loaf from collapsing during the next attempt.
Bread Is Too Dense
Usually caused by not using enough yeast, using all-purpose flour or using too much flour. To fix, measure the flour and level it but don't pack it into the cup. Increase the yeast by ¼ teaspoon, use bread flour or use vital wheat gluten if using all-purpose flour. For whole wheat breads, which are naturally denser, add 1 teaspoon of vital wheat gluten per cup of flour.
Crust Is Too Dark Or Pale
Adjust the crust setting on your next bake. If the crust was too dark, use the light or medium setting. If it was too pale, use the medium or dark setting. Some older machines run cool and need to use a higher setting, while some newer models run hot and need to use a lower setting.
Bread Has A Hole In The Bottom
This is caused by the kneading paddle. An easy fix is to remove the paddle before it starts baking or use the dough cycle and bake in the oven.
Bread Is Gummy Inside
Bread can be gummy if it's not allowed to cool before slicing. Always cool for about 30 minutes before slicing into it, as the inside will continue to cook a bit after the cycle is done. Another cause is using too much liquid. Try reducing the water by 1-2 tablespoons next time.
Loaf Mushroomed Over The Pan
This happens when the dough over-expands, which is caused by too much yeast or sugar, too much liquid or using too much vital wheat gluten. A bread flour with a very high protein content can also cause mushrooming loaves. Next time, reduce the yeast or sugar or use less vital wheat gluten. Check your bread flour's protein content. If it's over 14% try a different brand with a lower percentage.
Bread Machine Tips For Better Results
- Always check the dough during kneading, about 5-10 minutes in to the cycle. A smooth, round and tacky ball that pulls away cleanly from the sides of the pan is what you're looking for. If the dough is crumbly, add more water a little at a time. IF the dough is too wet, add more flour a little at a time.
- Measure the flour by leveling the scoop but don't pack the flour into the measuring cup. Packing in the flour may add more flour than the recipe needs. You can also use a kitchen scale to weigh the flour.
- Use warm water and liquids. Water, milk, or other base liquids should be approximately 110-115 degrees Fahrenheit to activate the yeast.
- Use room temperature ingredients, like butter and eggs, when possible.
- Keep the yeast and salt separate until mixing begins. Salt kills yeast on contact. Follow the standard order for adding ingredients, or the one your machine recommends.
- Extend the life of yeast by storing it in the fridge or the freezer.
- Only peak during kneading, not during rising or baking. Anytime you open the lid heat escapes and the loaf could deflate or not bake properly.
- Keep a baking journal and mark down how the dough looked, how each loaf turned out, the environmental conditions, and any changes you had to make to recipes during the process. Bread is very sensitive to the environment, so humidity, altitude and even how warm or cold the kitchen was can affect the outcome. A journal will help you hone in on your recipes over time.
- Hand wash the bread pan and paddles immediately after using to extend their life. Don't use harsh scrubbers or sponges, as they can cause the coating to chip.
Frequently Asked Questions
Yes, but bread flour will produce a chewier, softer loaf.
Bread machine yeast and instant yeast are recommended. Active dry yeast can be used too but is a little less reliable.
This is a personal preference. Some people like to use the bread machine only to knead the dough on the dough cycle. Then they bake it in the oven to control the shape of the final loaf. Others bake their loaves in the oven because the machine overcooks the crust. To make the bread making the most convenient, use the machine to knead, proof and bake your homemade bread.
No. Bread machines are setup to make certain loaf sizes so doubling a recipe might exceed the capacity and cause issues with rising and baking. It's better to make 2 separate loaves.
Removing the kneading paddle is optional, and often forgotten. If removing, do so right before the baking cycle begins. If you don't remove the kneading paddle until it's done, simply hold the pan upside down and shake it gently til the loaf falls. The paddles can then be pulled out from the loaf.
You should only open it while it's kneading to check on the dough. Once it's rising or baking, keep the lid closed to control the temperature.
The most likely cause of collapsed bread is overproofing, meaning the dough rose too fast and too high, then couldn't hold it's structure. See the above troubleshooting section for simple fixes.
Most recipes are written as 1.5 pound loaves. If a recipe doesn't state a size, you can assume it's 1.5 pounds, the middle ground for bread machine recipes.


Comments
No Comments