



This easy Instant Pot Pumpkin Cheesecake is creamy, delicious, and full of pumpkin spice flavor. It's been requested for years as Thanksgiving dessert but it makes a decadent dessert for any fall and winter occasion. It's the pressure cooked version of my oven baked pumpkin spice cheesecake, just made easier to perfect!
It takes only about 20 minutes of hands-on time to prepare the crust and filling. The rest is chilling time. So always make sure you have at least 1 day between baking and serving to allow the cheesecake to cook, set and become an irresistibly good dessert.
And while cheesecake is a classic dessert, it often sounds scary to some. But cheesecake is easy to make using the right strategy and tips (given below) and contains just a few common and simple ingredients. The key to creating a perfect cheesecake lies within taking your time to follow the steps and tips for success precisely. Patience is a virtue when cooking not just this pumpkin cheesecake, but any, like our mint chocolate cheesecake and mini pressure cooker cheesecake jars.
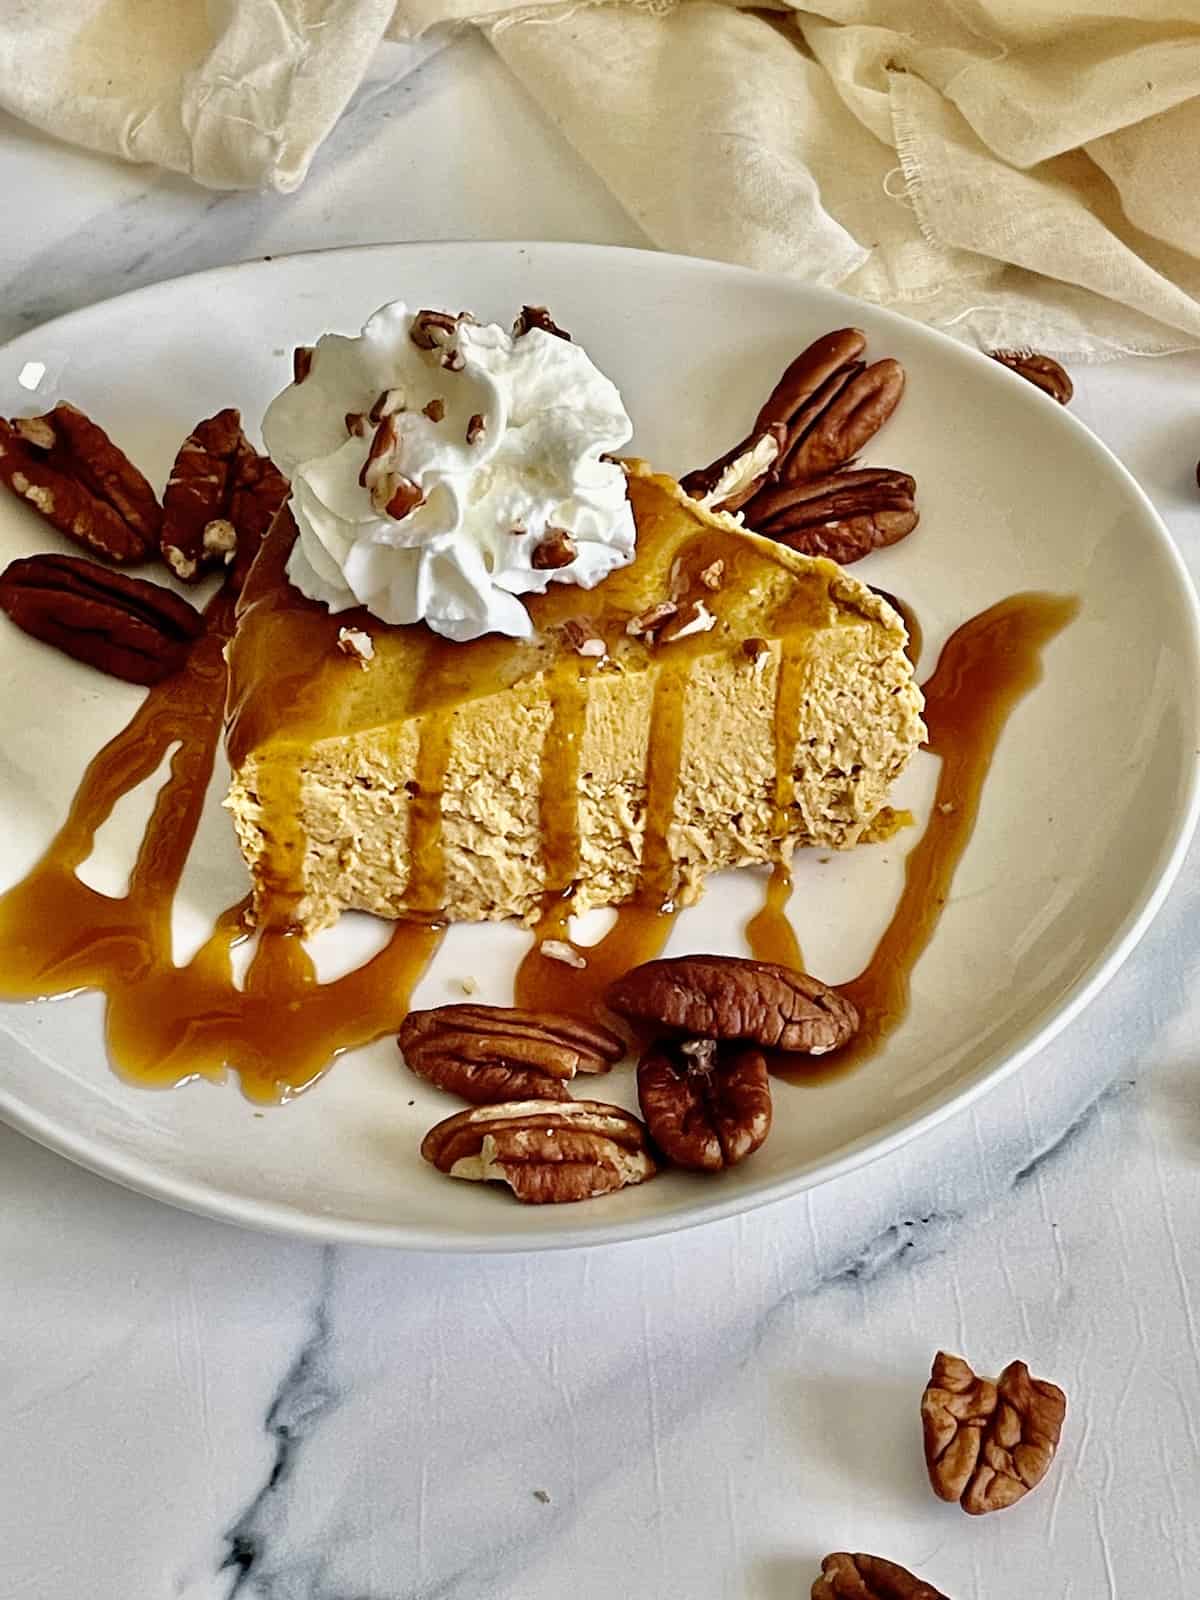
Table Of Contents
Benefits of Making Cheesecake in the Instant Pot
- Cheesecakes need humidity. A pressure cooker provides natural humidity with the addition of water needed for the pot to come to pressure. This would otherwise be done with a water bath in the oven, which requires placing a pan of water at the bottom of the oven. So by using a pressure cooker, you get a natural water bath and lots of humidity.
- The natural humidity in the Instant Pot prevents cracking and helps make a smooth and creamy cake rather than gelatin custard-like cake.
- Allowing a natural pressure release and then letting the cheesecake stay in the pressure cooker while the temperature drops prevents the center from sinking. When baked in the oven, falling centers can sometimes be a problem if the temperature decreases too quickly. But in the Instant Pot this isn't an issue!
- Your oven won't be taken for a prolonged period. Making a cheesecake is a timely process when done properly. When using the oven, especially during the holidays, valuable oven space is taken up for a prolonged time. Not ideal when needing to also bake cookies and dinner!
- There is no leaking cheesecake to become stuck and burnt at the bottom of the oven.
Ingredients
- Pumpkin puree: canned or homemade. As a store bought option, Libby's is my favorite! Keep in mind that the brand of canned pumpkin or the type of pumpkins you use to make homemade puree may vary in their shade of orange. This will slightly change the orange hue of your cheesecake, but will not affect the flavor.
- Pumpkin spice seasoning: or a blend of cinnamon, nutmeg, ginger, and cloves (check the recipe card for how to substitute).
- Cream cheese
- Vanilla extract: I make it homemade in my pressure cooker.
- Eggs
If making your cheesecake with the crust, you'll also need:
- Crushed graham crackers
- Nutmeg
- Butter
- Sugar
Equipment
Making pumpkin cheesecake in the Instant Pot requires a few special tools.
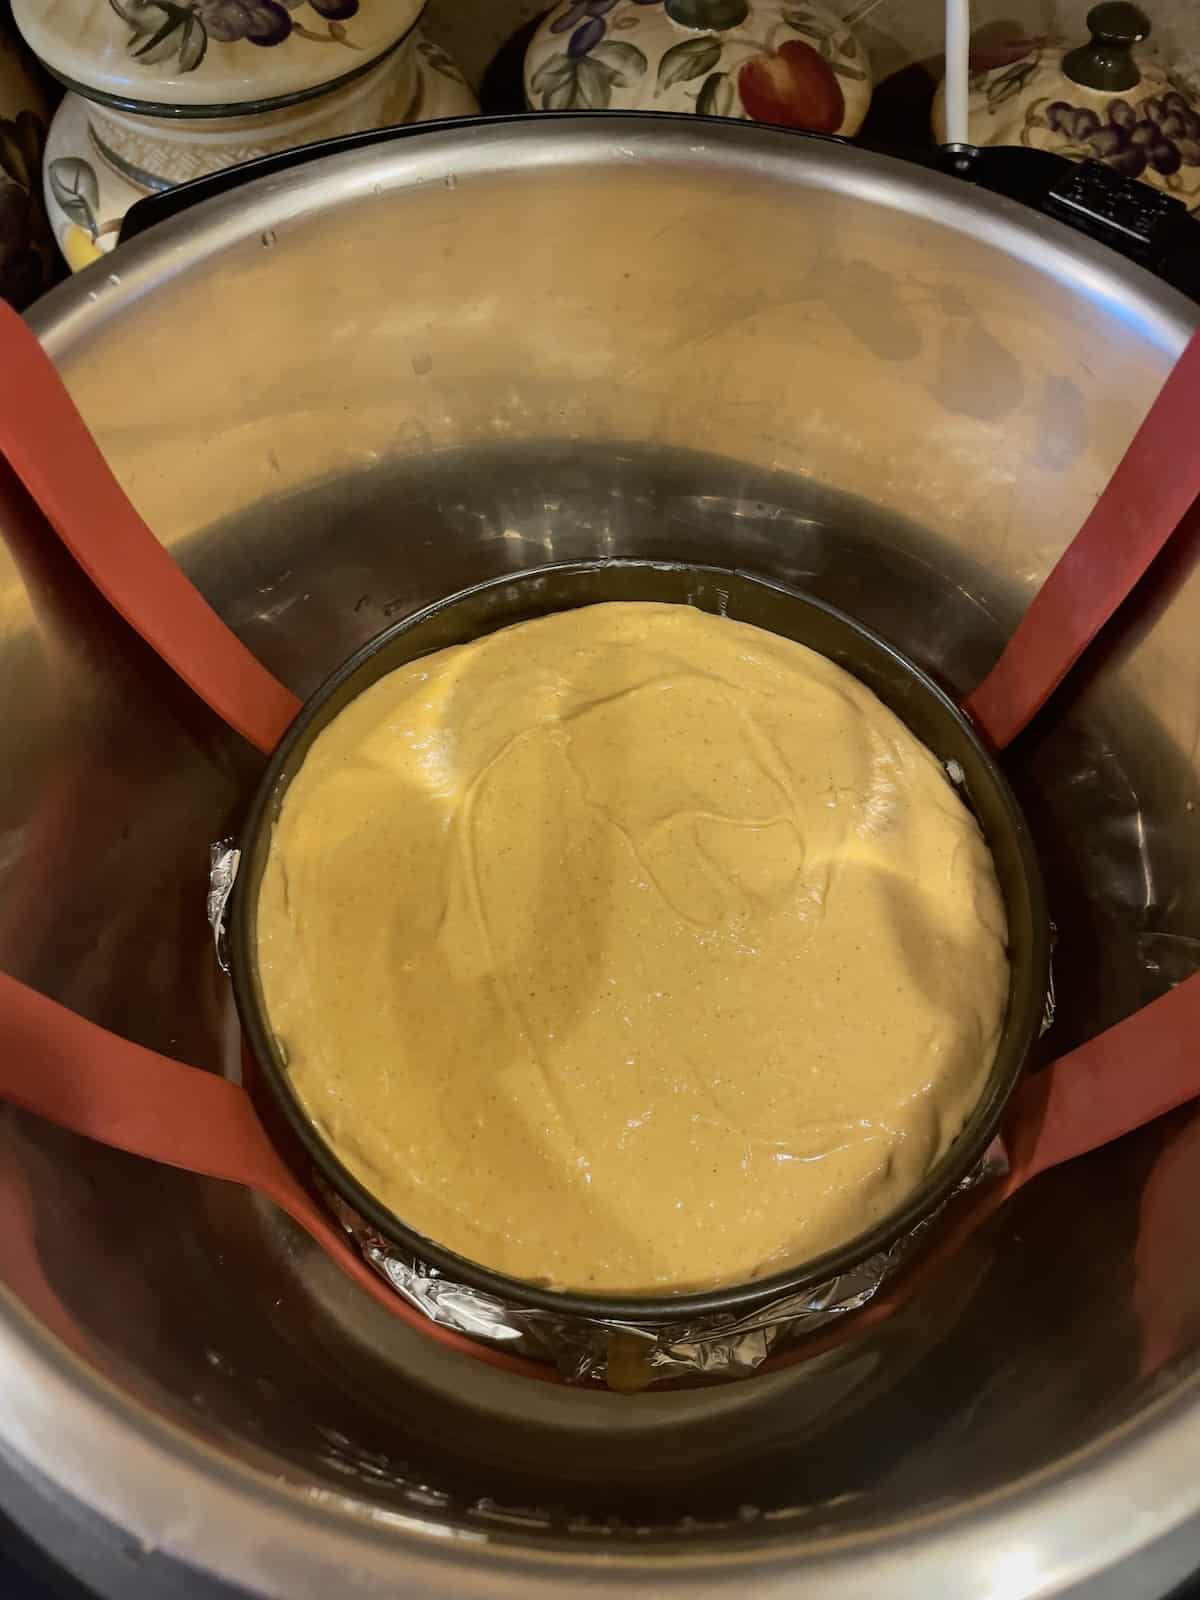
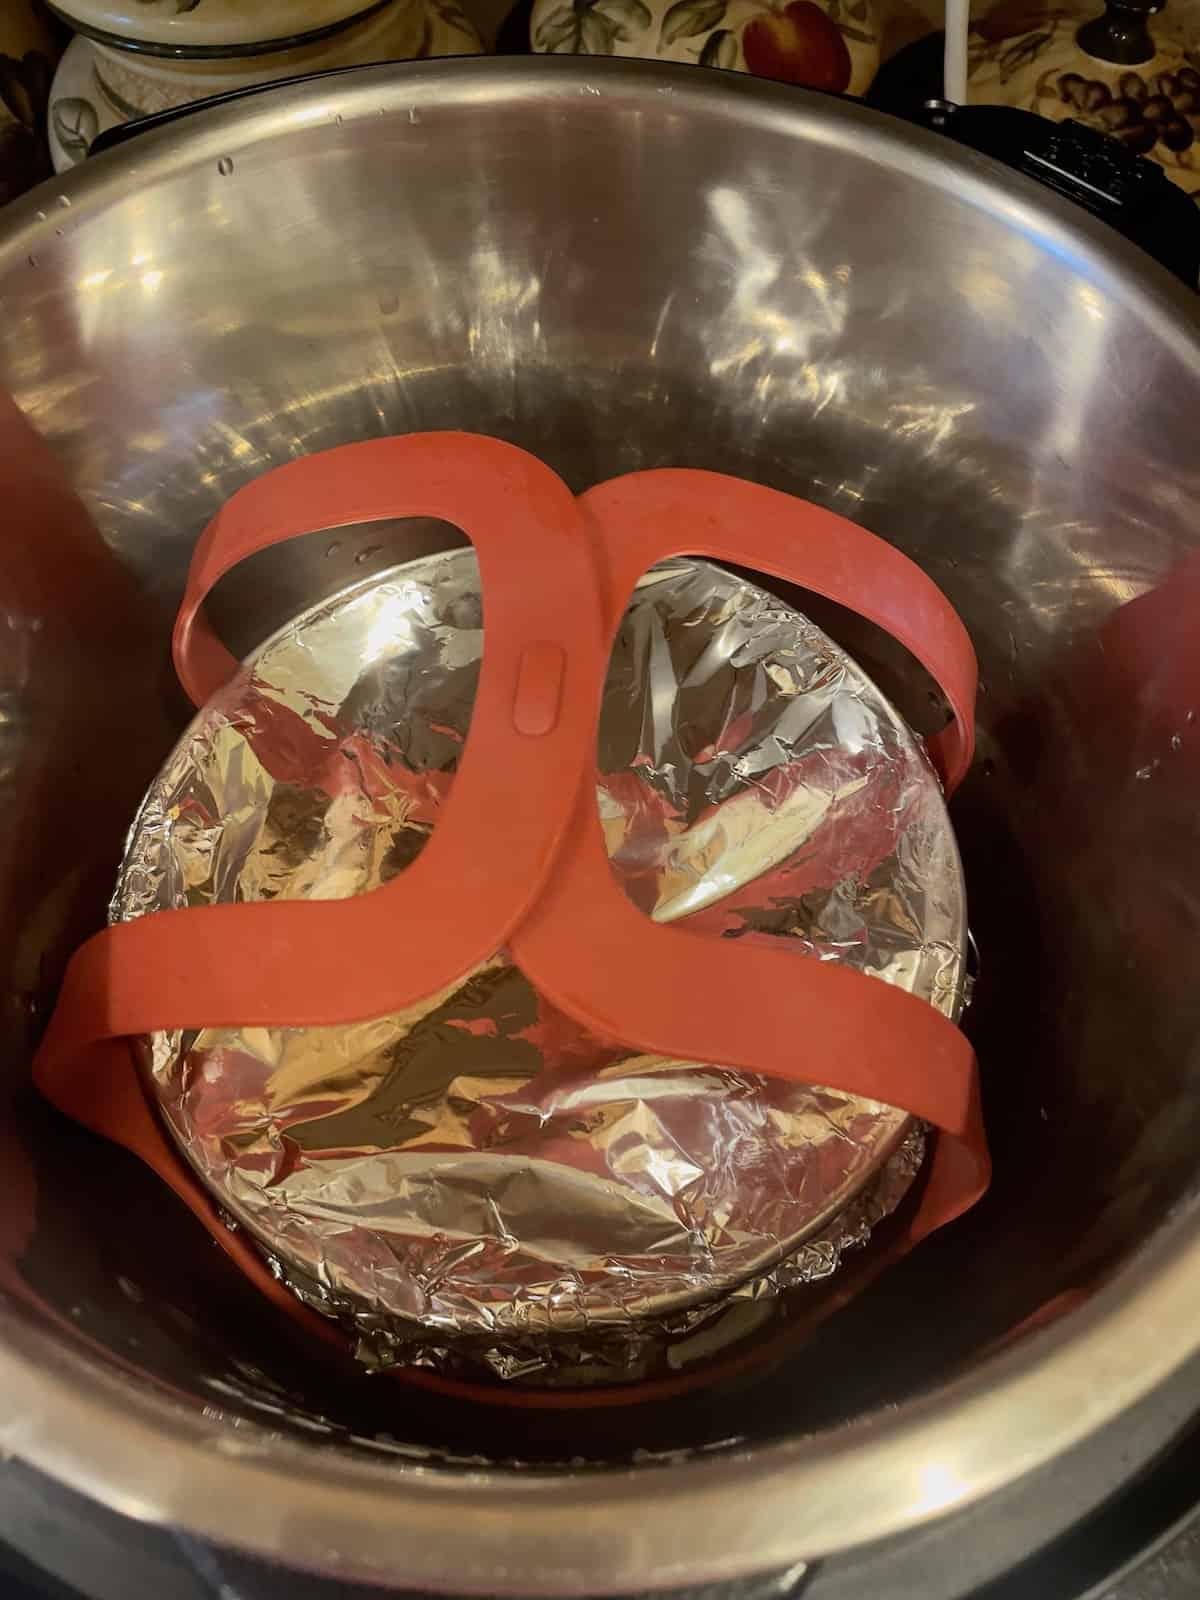
- Silicone sling: this is best because it provides friction for the springform pan and thus, less of a chance for the pan to slide when being removed. A silicone sling is also easier to remove than a metal trivet because of it's long handles. You could, however, use a metal trivet with handles if that's all you have.
- Springform pan: for 8 quart Instant Pots, use a 7 inch round springform pan and for 6 quart Instant Pots, use a 6 inch pan. I have this set of 3 shapes for making fun shaped cheesecakes, too.
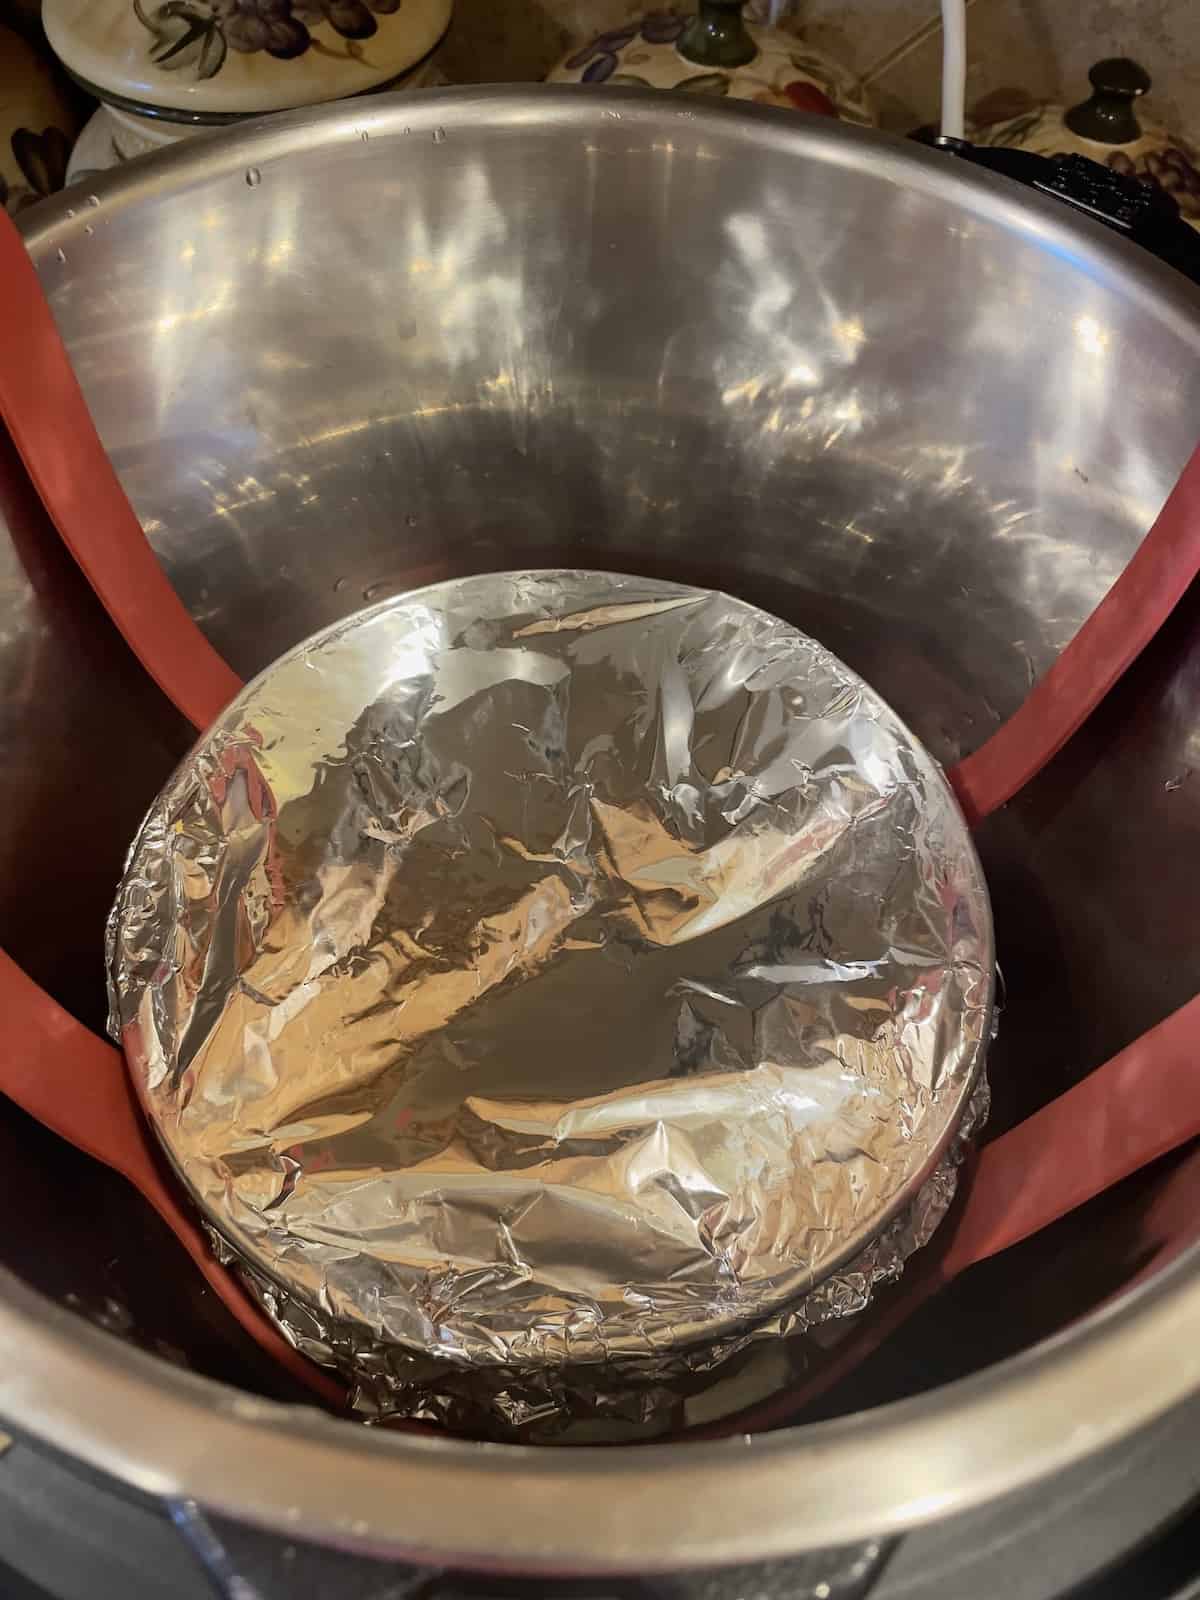
- Aluminum foil: foil is necessary to cover the cheesecake while it pressure cooks, otherwise lots of water will form on top of the cake and will be difficult to remove without ruining the cake.
This recipe is written for an 8 quart Instant Pot using a 7 inch springform pan. For a 6 quart pressure cooker, you'll need a 6 inch springform pan. For a 10 quart instant pot, you can use either pan but you'll need to increase the amount of water used as recommended by the manufacturer.
Kristina's Tips
- Don't rush it. Cheesecake is delicate and needs time. A natural pressure release, an hour or two to come to room temperature, and a full chill in the fridge are crucial to a perfectly creamy, crack-free cheesecake.
- The cream cheese, eggs, and pumpkin puree need to be at room temperature so they blend into the batter smoothly and don't form clumps. If you've forgotten to bring them to room temperature, microwave in 10-20 second increments.
- Always add the eggs to the batter last and beat them on low speed, until just mixed in. Beating the eggs too strongly or for too long will cause air to form in the batter, thus leading to a cracked cheesecake.
- Don't remove the side of the springform pan until after the cake has chilled. The cheesecake should naturally pull off the sides of the pan, making it less likely to stick and easy to remove. If it does stick, a knife can be used to separate the cheesecake from the sides of the pan.
- Never complete a quick release. The pressure must come down slowly, so at least a 30 minute natural release is crucial.
- Once the pressure has come down entirely, uncover the cake and let it stay in the warm pot. Cheesecakes need to come to room temperature slowly to avoid sunken centers and cracked tops. The inside of the inner pot will let this happen perfectly.
Instructions
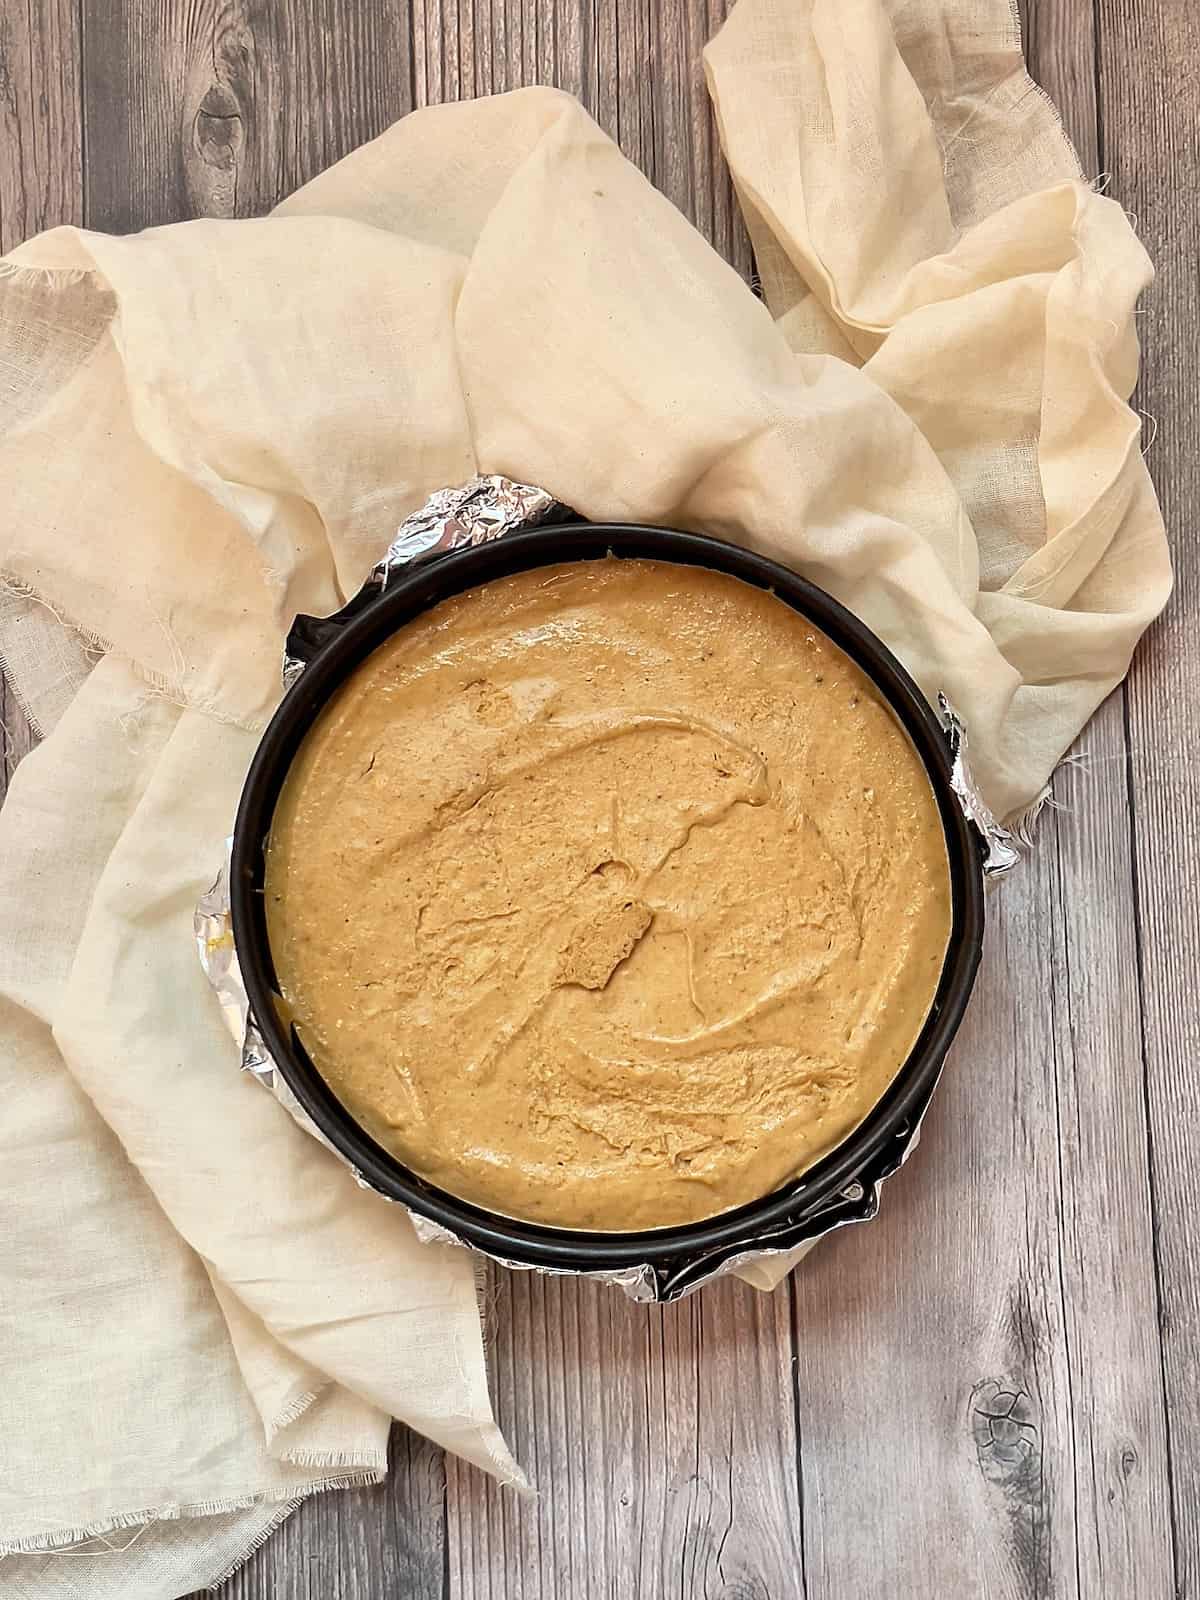
- Prepare the crust. Grease a 7 inch springform pan evenly and generously with butter. Wrap the outside of the pan in foil. In a large bowl, mix the crushed graham crackers, white sugar, nutmeg, and cloves. Add the melted butter and mix well. Pour into the springform pan and press down so the crumbs hold together. Place into the freezer while preparing the filling.
- Prepare the filling. In a separate large bowl, beat the brown sugar and cream cheese on high speed until smooth, about 3 minutes. Add the pumpkin puree, vanilla extract, pumpkin spice seasoning and salt. Beat on high until smooth, about 3 more minutes. Add the eggs and mix on low until they are just incorporated, about 20 seconds. Fold any remaining egg into the batter with a spatula.
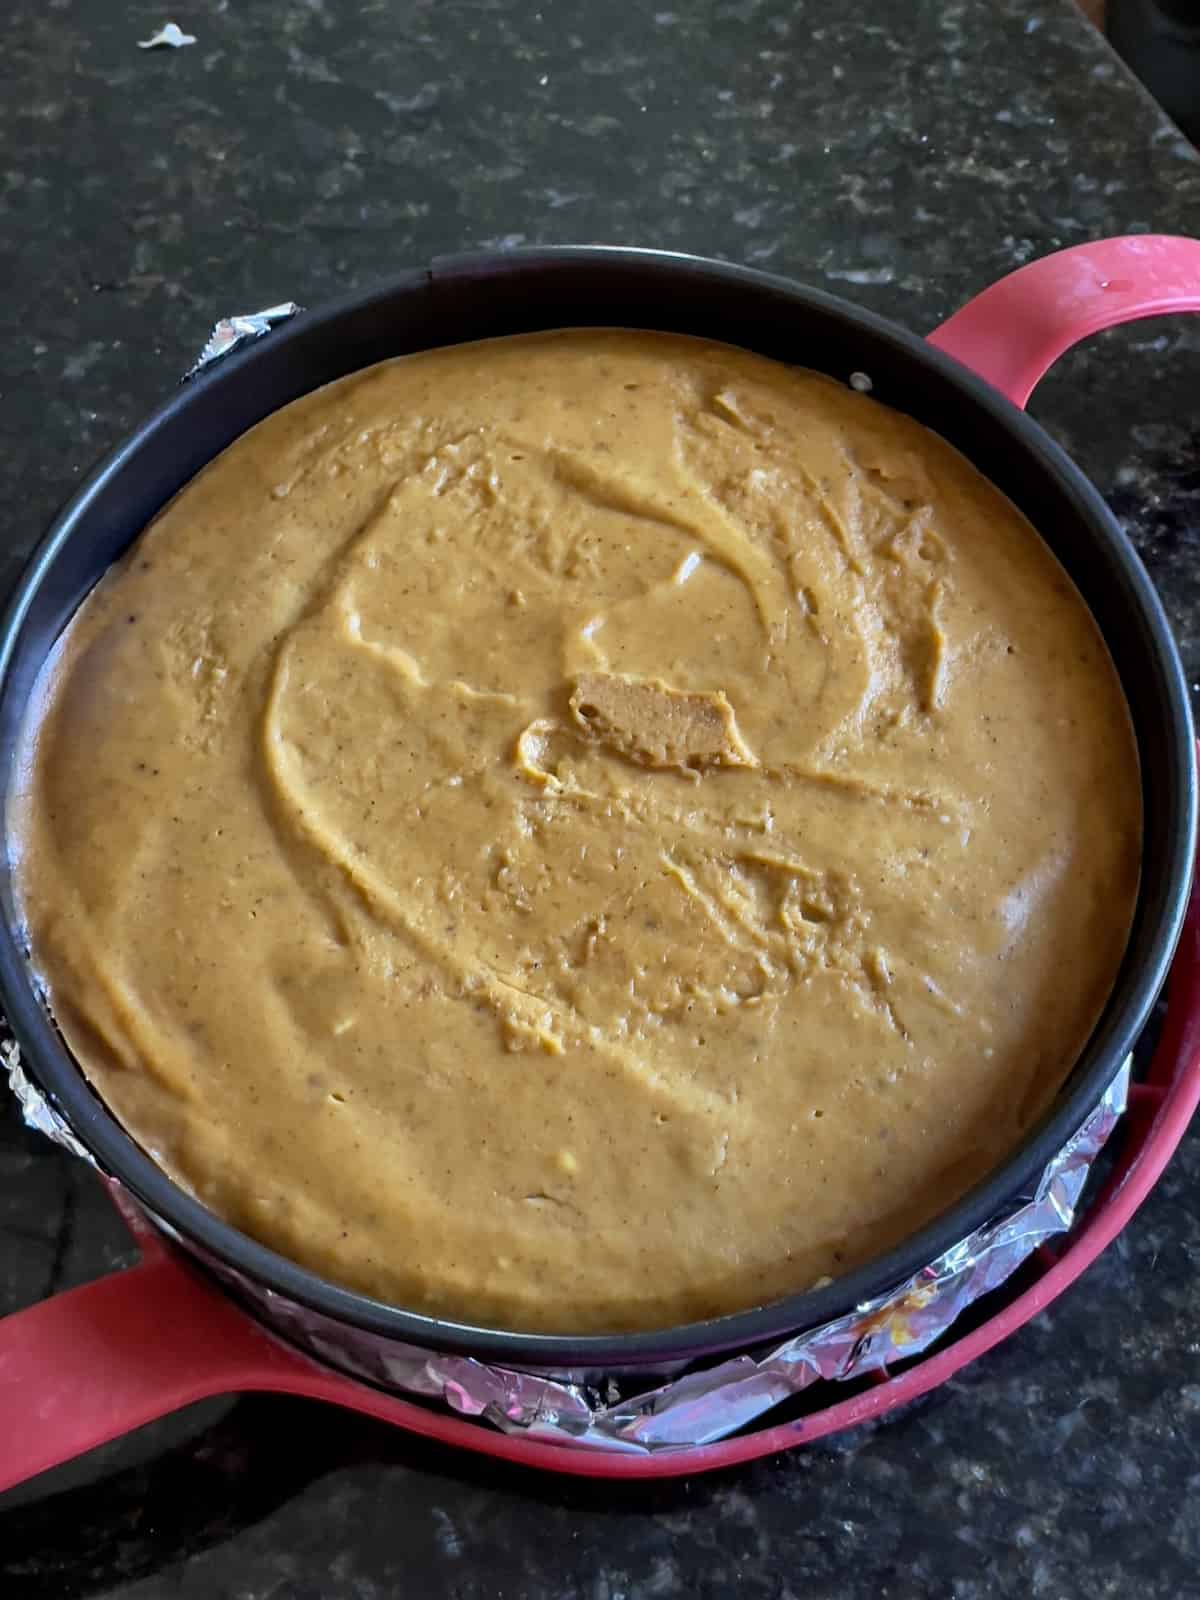
- Prepare the Instant Pot. Fill the inner pot with 2 cups of water. Insert the silicone sling and put the springform pan on the sling. Pour the cheesecake filling into the pan. Cover tightly with foil, securing the sides.
- Pressure cook. Close and seal the Instant Pot lid. Set to pressure cook on high for 45 minutes. When done, complete a natural release for at least 30 minutes, if not longer.
- Let cheesecake cool. Remove the pressure cooker lid and wipe away the condensation from the inside of the lid. Carefully remove the foil covering the cheesecake pan. There may be a small amount of water on top of the cake. Blot this away with a paper towel. Keep the cheesecake in the Instant Pot and place the lid back on. Let sit for 1 hour as the temperature drops naturally and the cheesecake comes to room temperature.
- Chill the cheesecake. Remove the lid from the Instant Pot. Transfer the sling and cheesecake pan to the counter carefully. Put the cheesecake in the fridge to cool overnight, or for at least 5 hours before removing from the pan.
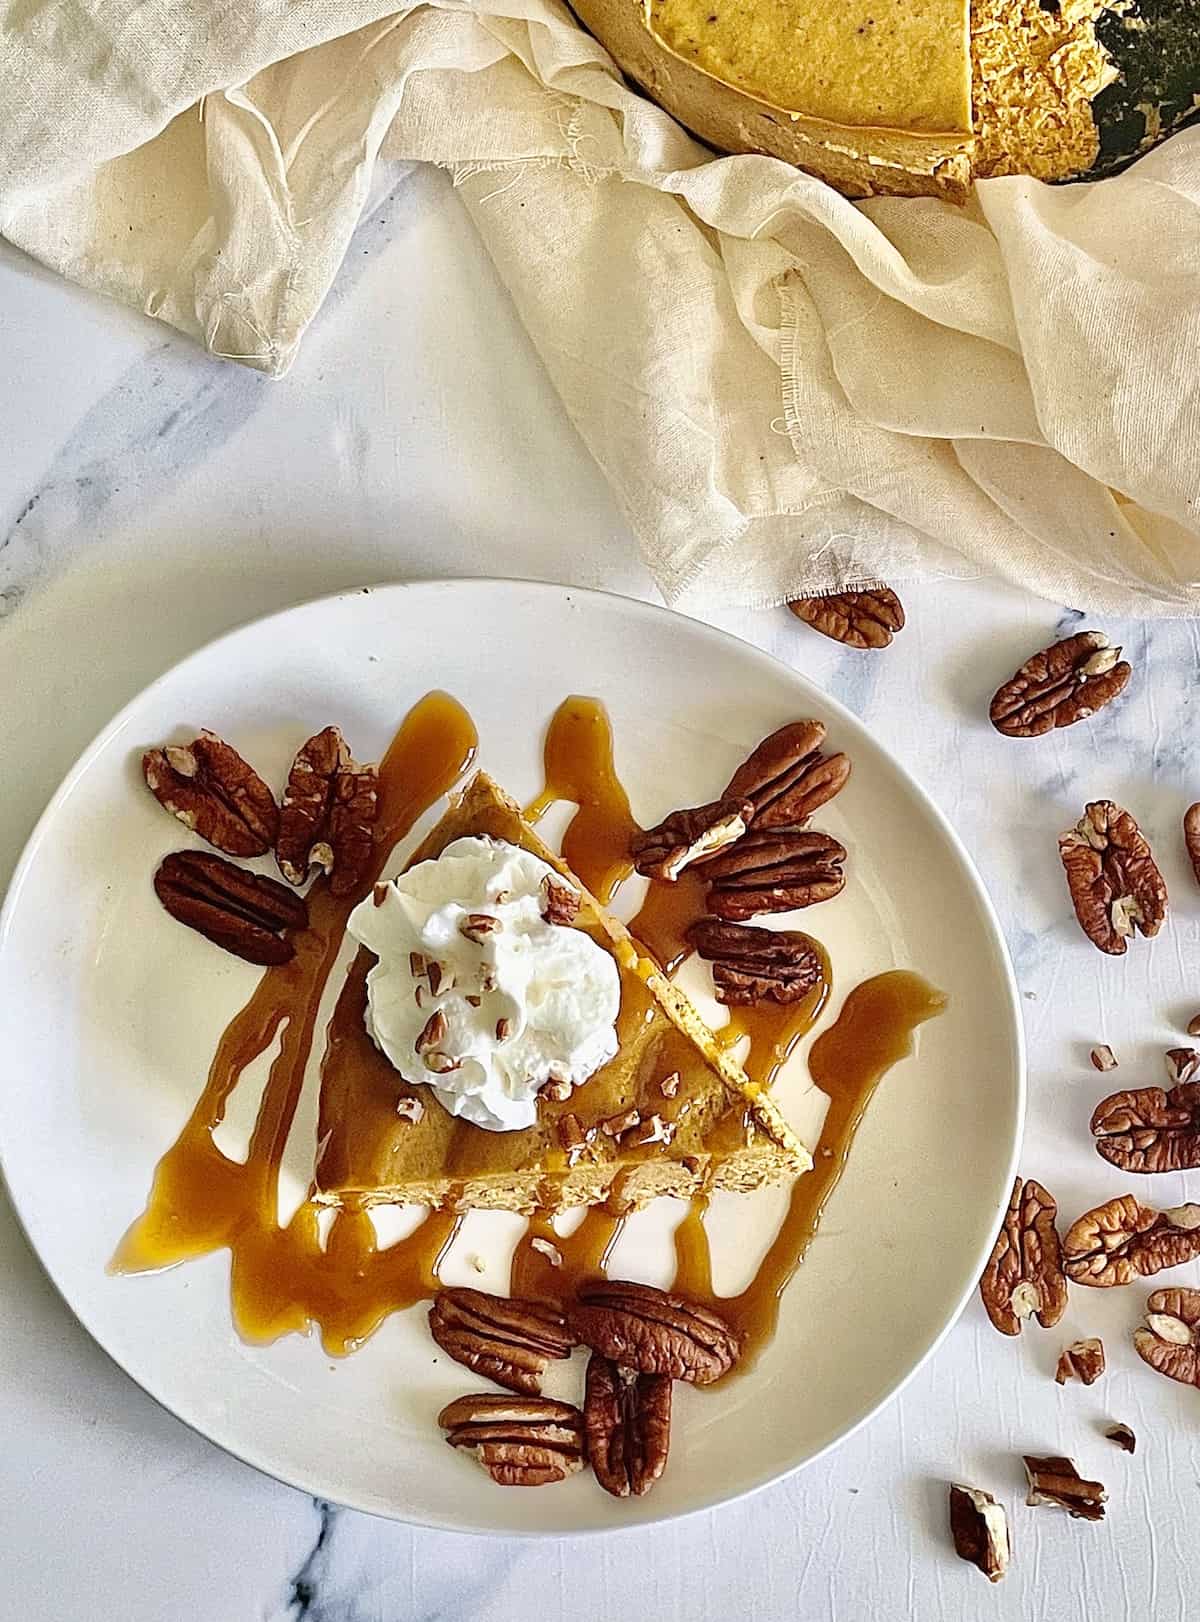
- Prepare for serving. Unlock the springform pan and slowly open it. If the sides of the cheesecake are stuck to the pan, slide a knife between the cake and the pan to loosen it. The cheesecake can be left on the pan's bottom to serve or transferred to a serving platter. Ideally, let the pumpkin cheesecake set overnight in the fridge.
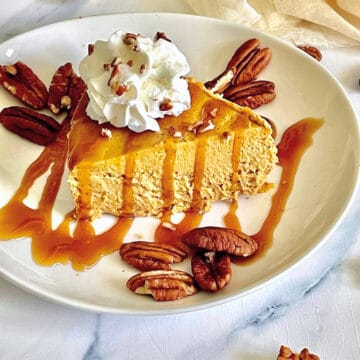
Top with whipped cream, caramel sauce, and pecans or walnuts before serving. Enjoy!
Notes
Foods take longer to pressure cook when covered in foil. Many cheesecake recipes do not call for covering the top in foil and have a shorter cook time. However, these cheesecakes tend to develop a lot of water on the top that needs to be removed. I'd prefer cooking cheesecake for a longer time and not having to worry about water forming on the top. You may also need to adjust cooking times if you live at a high altitude.
How To Store
Store in the fridge in an airtight container or covered with plastic wrap/foil for up to 1 week.
Pumpkin cheesecake can be frozen wrapped tightly in plastic or a freezer safe container for up to 1 month. After this, the cheesecake will begin to lose it's quality. You can make it ahead of time, before the busy holiday rush and freeze it for up to 30 days.
Recipe
Instant Pot Pumpkin Cheesecake
Ingredients
Crust
- 1 cup graham crackers crushed
- ¼ teaspoon nutmeg
- ⅛ teaspoon cloves
- 1 tablespoon white sugar
- 4 tablespoon unsalted butter melted
Filling
- 16 ounces cream cheese softened
- ¾ cup brown sugar
- 1 ¾ cups pumpkin puree or one 15 oz can
- 1 teaspoon vanilla extract
- 2 teaspoon pumpkin spice seasoning substitution in notes
- ⅛ teaspoon salt
- 2 eggs at room temperature
Instructions
- Grease a 7 inch springform pan evenly and generously with butter. Wrap the outside of the pan in foil. (proceed to step 3 if making crustless)
- In a large bowl, mix the crushed graham crackers, white sugar, nutmeg, and cloves. Add the melted butter and mix well. Pour into springform pan and press down so the crumbs hold together. Place into the freezer while preparing the filling.
- In a separate large bowl, beat brown sugar and cream cheese on high speed until smooth, about 3 minutes. Add the pumpkin puree, vanilla extract, pumpkin spice seasoning and salt. Beat on high until smooth, about 3 more minutes.
- Add the eggs and mix on low until just incorporated, about 20 seconds, being careful not to overmix. Fold any remaining egg into the batter with a spatula.
- Prepare the Instant Pot by filling it with 2 cups of water. Insert a silicone sling into the inner pot and put the springform pan on the sling. Pour the cheesecake filling into the pan. Cover tightly with foil, securing the sides.
- Close and seal the Instant Pot lid. Set to pressure cook on high for 45 minutes.
- When done, let complete a natural release for at least 30 minutes. Then quickly release remaining pressure. Remove the lid and wipe away condensation from the inside of the lid.
- Carefully remove the foil covering the cheesecake. There may be a small amount of water on top of the cake. Blot this away with a paper towel. Keeping the cheesecake in the Instant Pot, place the lid back on and let sit for 1 hour.
- Remove the lid from the Instant Pot. Transfer the sling and cheesecake pan to the counter carefully. Put the cheesecake in the fridge to cool overnight, or for at least 5 hours before removing from the pan.
- Unlock the springform pan and slowly open it. If the sides of the cheesecake are stuck to the pan, slide a knife between the cake and the pan to loosen it. The cheesecake can be left on the pan's bottom to serve or transfered to a serving platter.
- Top with whipped cream, caramel sauce, and pecans or walnuts to serve.
Notes
Nutrition





Alvin McManus says
First I do not cover the springform with foil so I adjusted my cook time to 26 minutes with a natural release. Secondly I use my electric kettle to get about 1.5 cups of water to boiling then I put that in the pot and set in the cheesecake in the silicone sling, close the lid and set the cook time. In less than 3 minutes the pot was under pressure. Boiling water really speeds things up. I knew this recipe was for a 7inch pan and I have a 6in. I should have adjust the puree amount downward as the mix expanded above the rim. It still cooked and was over 155 in the the 26 minutes. Next time I'll only use a cup of puree. By the way I did not have pumpkin so I used sweet potato puree. It is yummy and I like sweet potato better than pumpkin. I will top this with a dulce de leche made from sweetened condensed milk in the IP.
Darren Stevens says
Two stars for flavor and tips. -3 for cooking time and method. I was making two cheesecakes b/c I have 2 8-qt Instant Pots, so I doubled the recipe. Bad move. I was within a half-inch in the Instant Pot silicone 7-inch springform pan, and the same with a non-stick metal one. The metal one was a bit shallower than the silicone one, but I had soooo much left over batter that I was able to fill yet another 7-inch springform pan with batter and cooked it in a conventional oven for 1 hour in a water bath. Realizing that the center of was still too jiggly at 1 hour, I let it say in there for another 15 mins, and turned off the heat and let it rest in the water bath in the closed oven for 1 hour. The results were awful with the consistency of mousse, lacking anything that resembled density. I gave the other two Instant-Pot-made cakes to neighbors so I don't know what happened with them, but I imagine their interiors probably weren't set either. Sorry, but this one just doesn't measure up compare to the other Instant Pot cheesecake recipes I've followed. IMO, the pumpkin is likely too much for 1# of cream cheese, followed by the lack of either cornstarch or flour to help bind it.
Al McManus says
I have to agree with you on the recipe ingredients. The amount was a bit much. I failed to consider that it would over-top my 6in pan. LOL. I don't wrap the metal spring form and I find that 27-30 minutes generally does the trick. It did here and my completed cake is cooling nicely in the fridge. I went the pressure came off and I popped the lid I found the batter had risen about 3/4" above the pan rim. A bit of a mess, but as it cooled it has since settled to slightly below the rim. Sure is tasty (I sampled a smidge from the rough edge).
Emily B says
This one is not a winner for me. First of all, two cups of water had my trivet submerged, so I went with 1.5 (checked some other recipes to get that amount). Then my cheesecake was not even close to being done after the 1/2 hour natural release. Like, completely raw from about 1cm inwards from the edge, not just a little jiggly in the centre. I had set it to sealing. I wonder if the tight aluminum foil prevented baking? I put it in for a second round at high pressure with loosely tented foil over it for 8 minutes + 10 minutes natural release, which cooked it through, and then left it in the pot with the lid loosely on for an additional hour to prevent cracking. Good flavour but something is off with the cooking time here for sure.