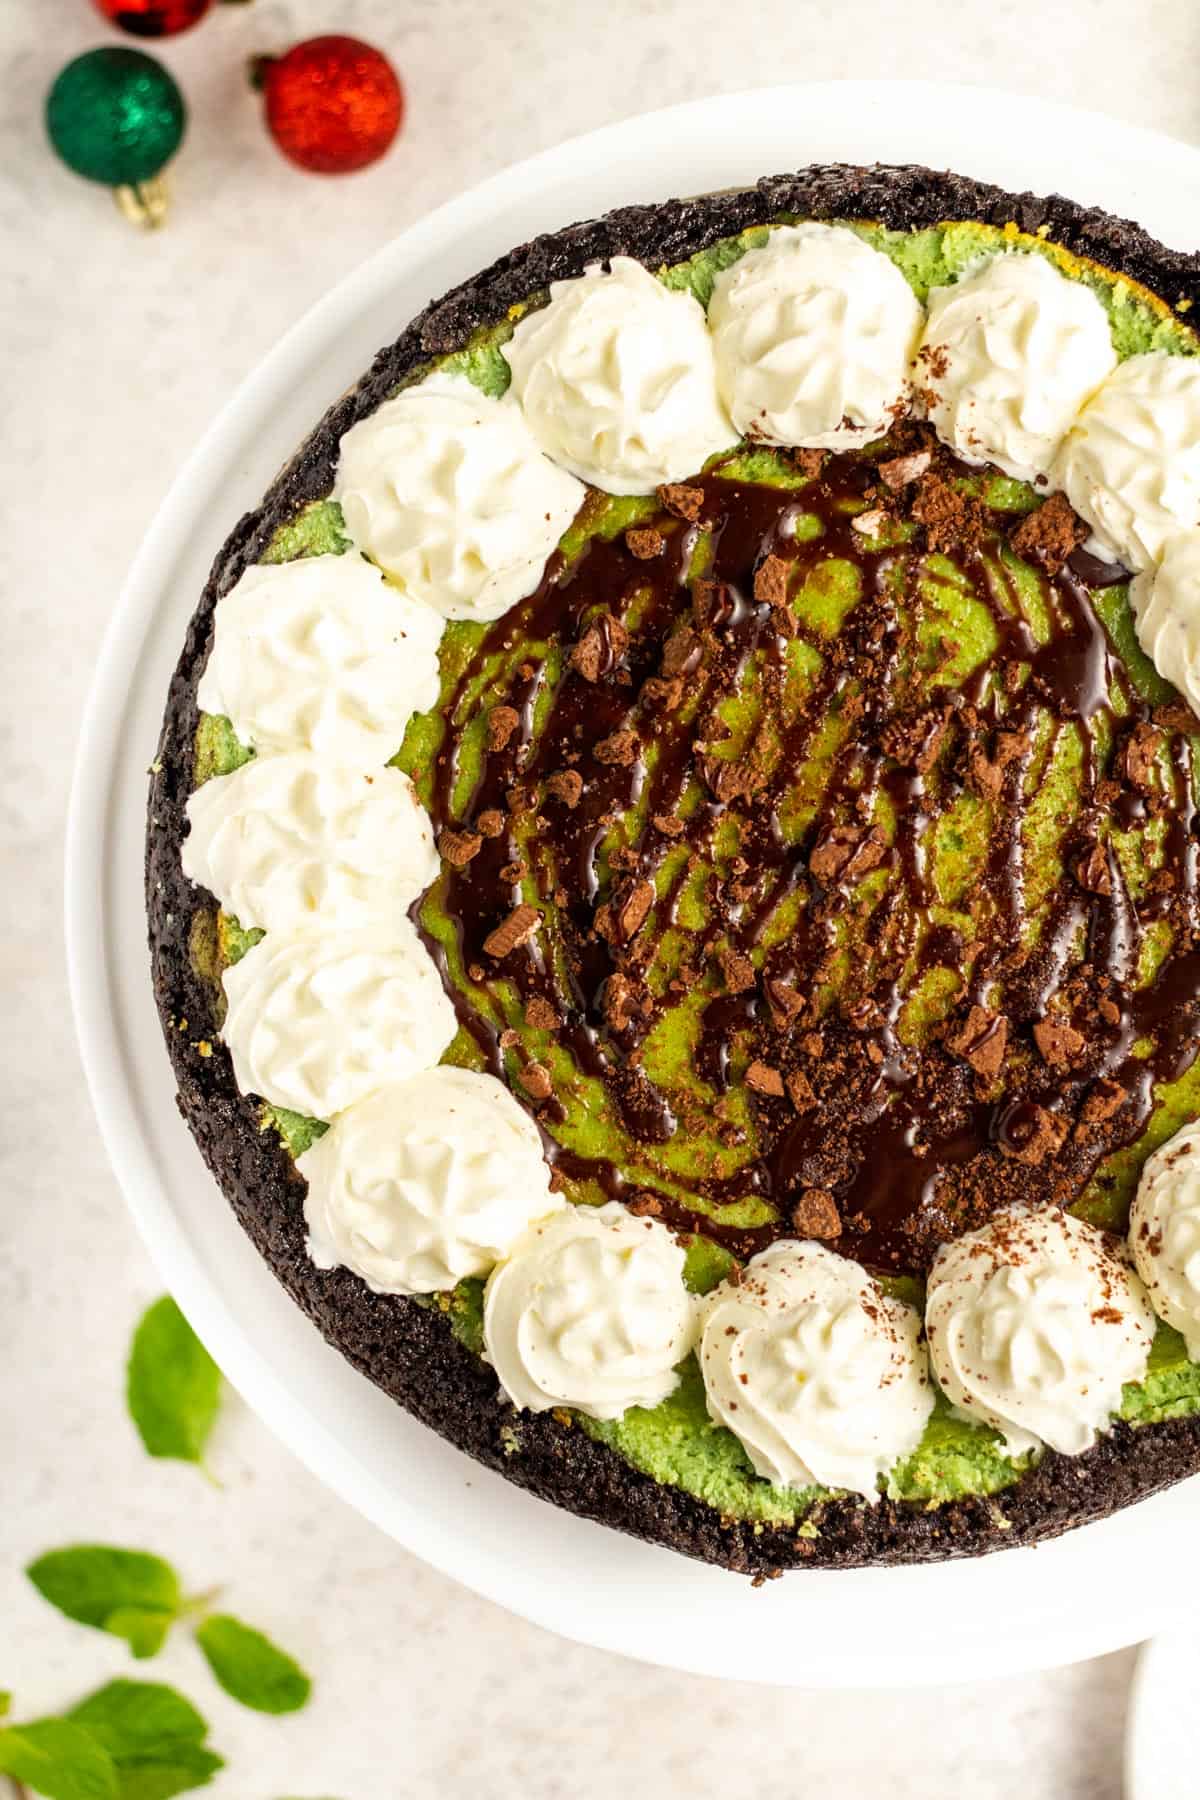
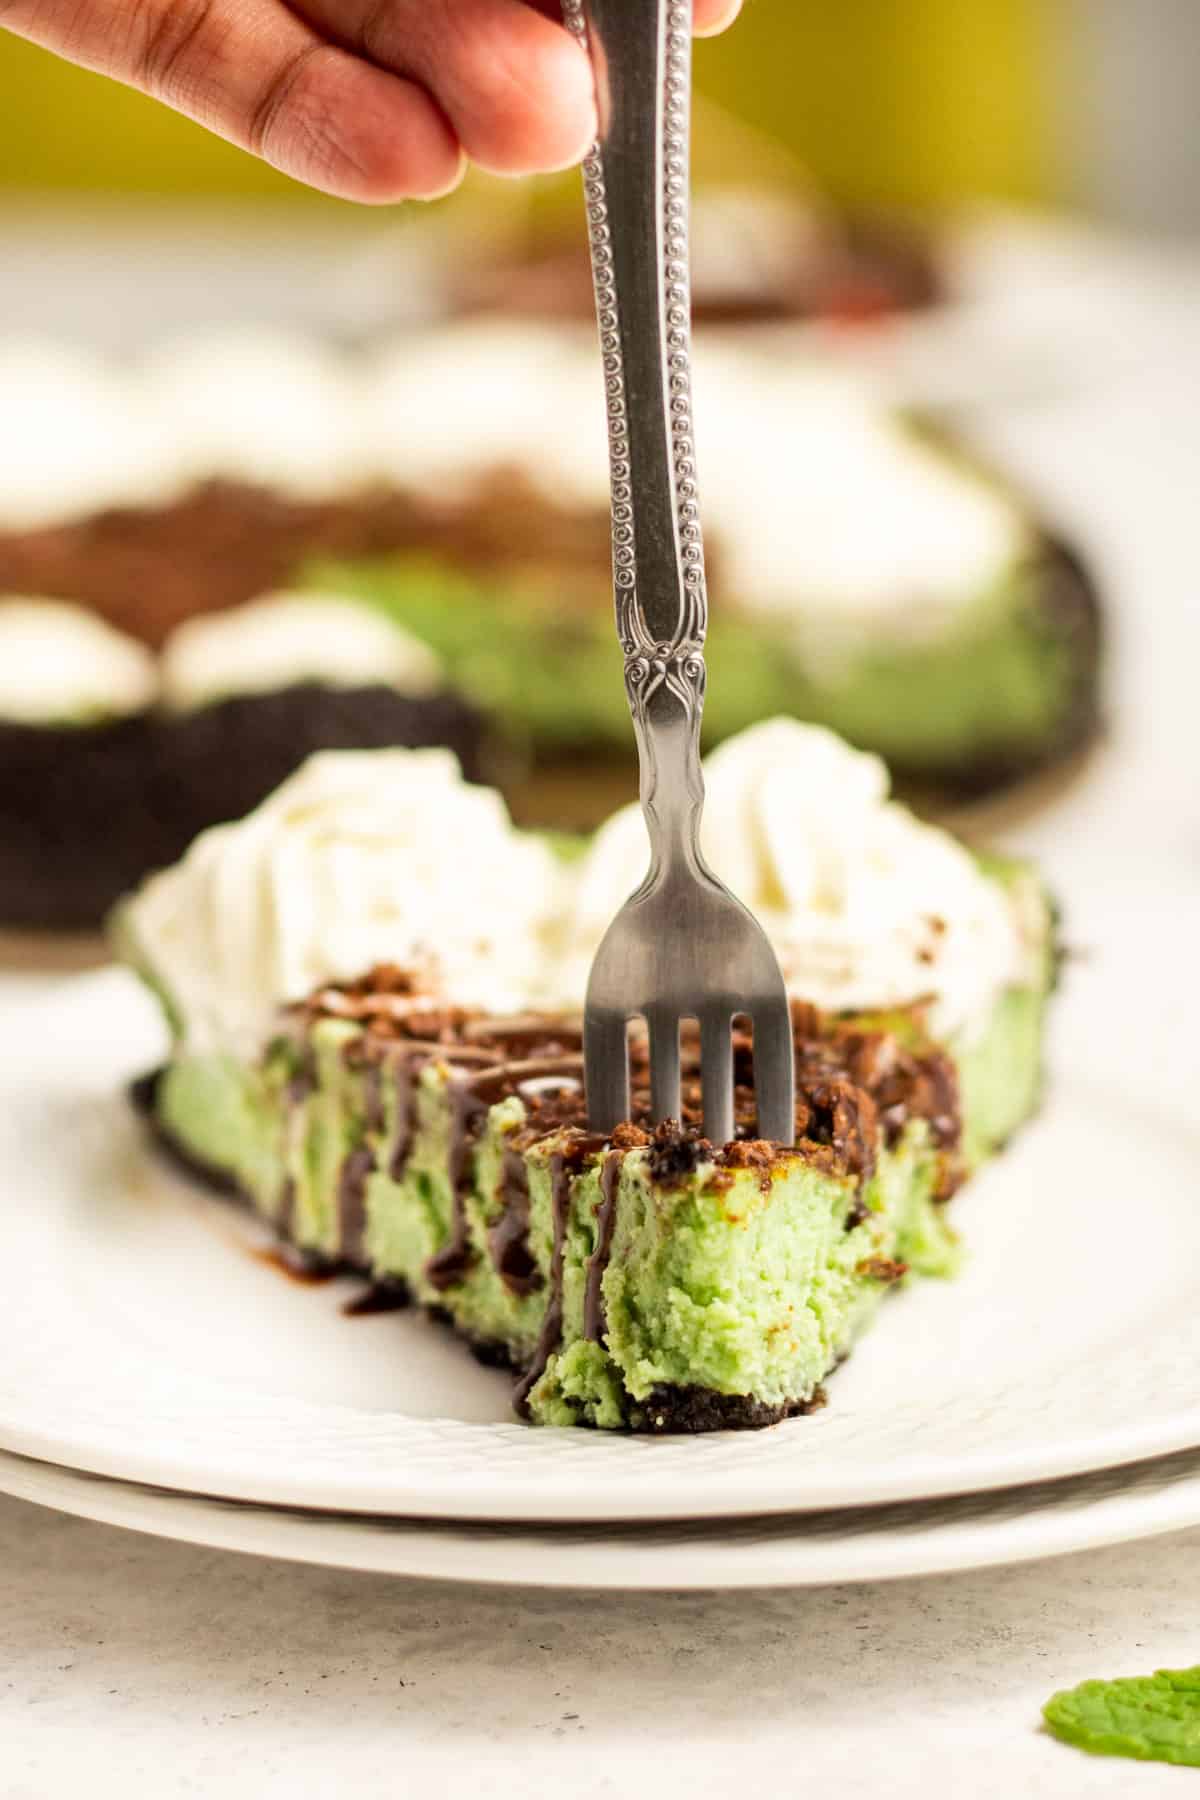
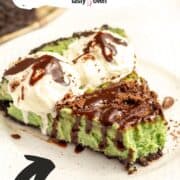
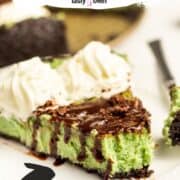
This unique Mint Chocolate Cheesecake is rich, creamy and colored green and flavored with mint using peppermint extract, green creme de menthe liqueur and white chocolate. It has a sweet and delicious oreo crust and makes a wonderful festive dessert for the holiday season!
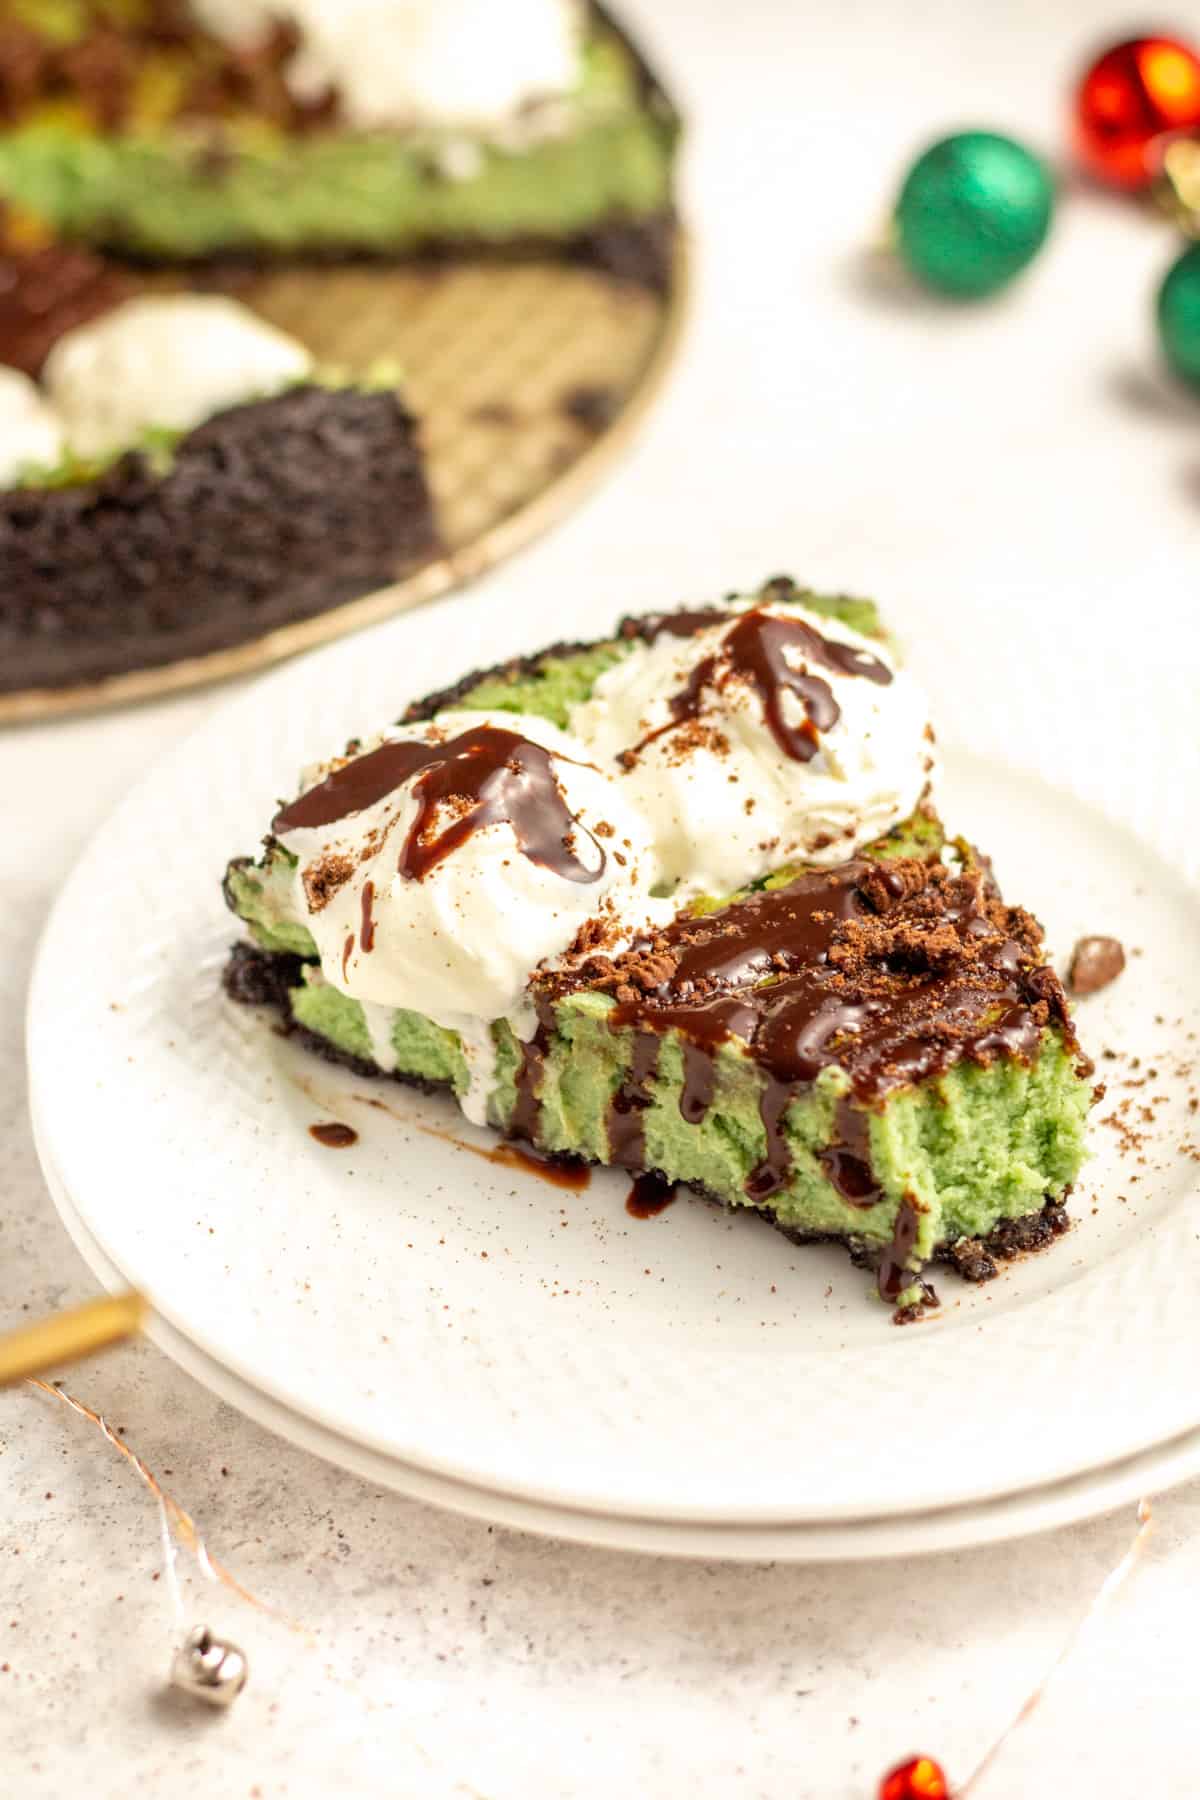
Table Of Contents
If you're a mint chocolate lover, you are going to love this recipe for creamy Mint Chocolate Cheesecake! It's made with a sweet oreo cookie crust and a refreshing and holiday-inspired peppermint flavored filling. It's delicious on your dessert table along with mint chocolate chip cookies and Oreo brownies.
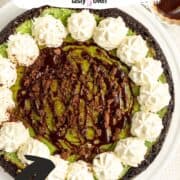
It gets its fantastic flavor from peppermint extract and green creme de menthe liqueur. Creme de menthe creates not just a minty flavor, but also a beautiful green color. Top it with whipped cream, chocolate ganache, or chocolate shavings, and this mint chocolate cheesecake will make a wonderful festive dessert for Christmas.
Don't want to make it in the oven? Try my Instant Pot version of mint cheesecake instead! For other holidays, you may also love my pumpkin spice cheese (it can be made in the Instant Pot too!) and mini mason jar cheesecakes.
Ingredients
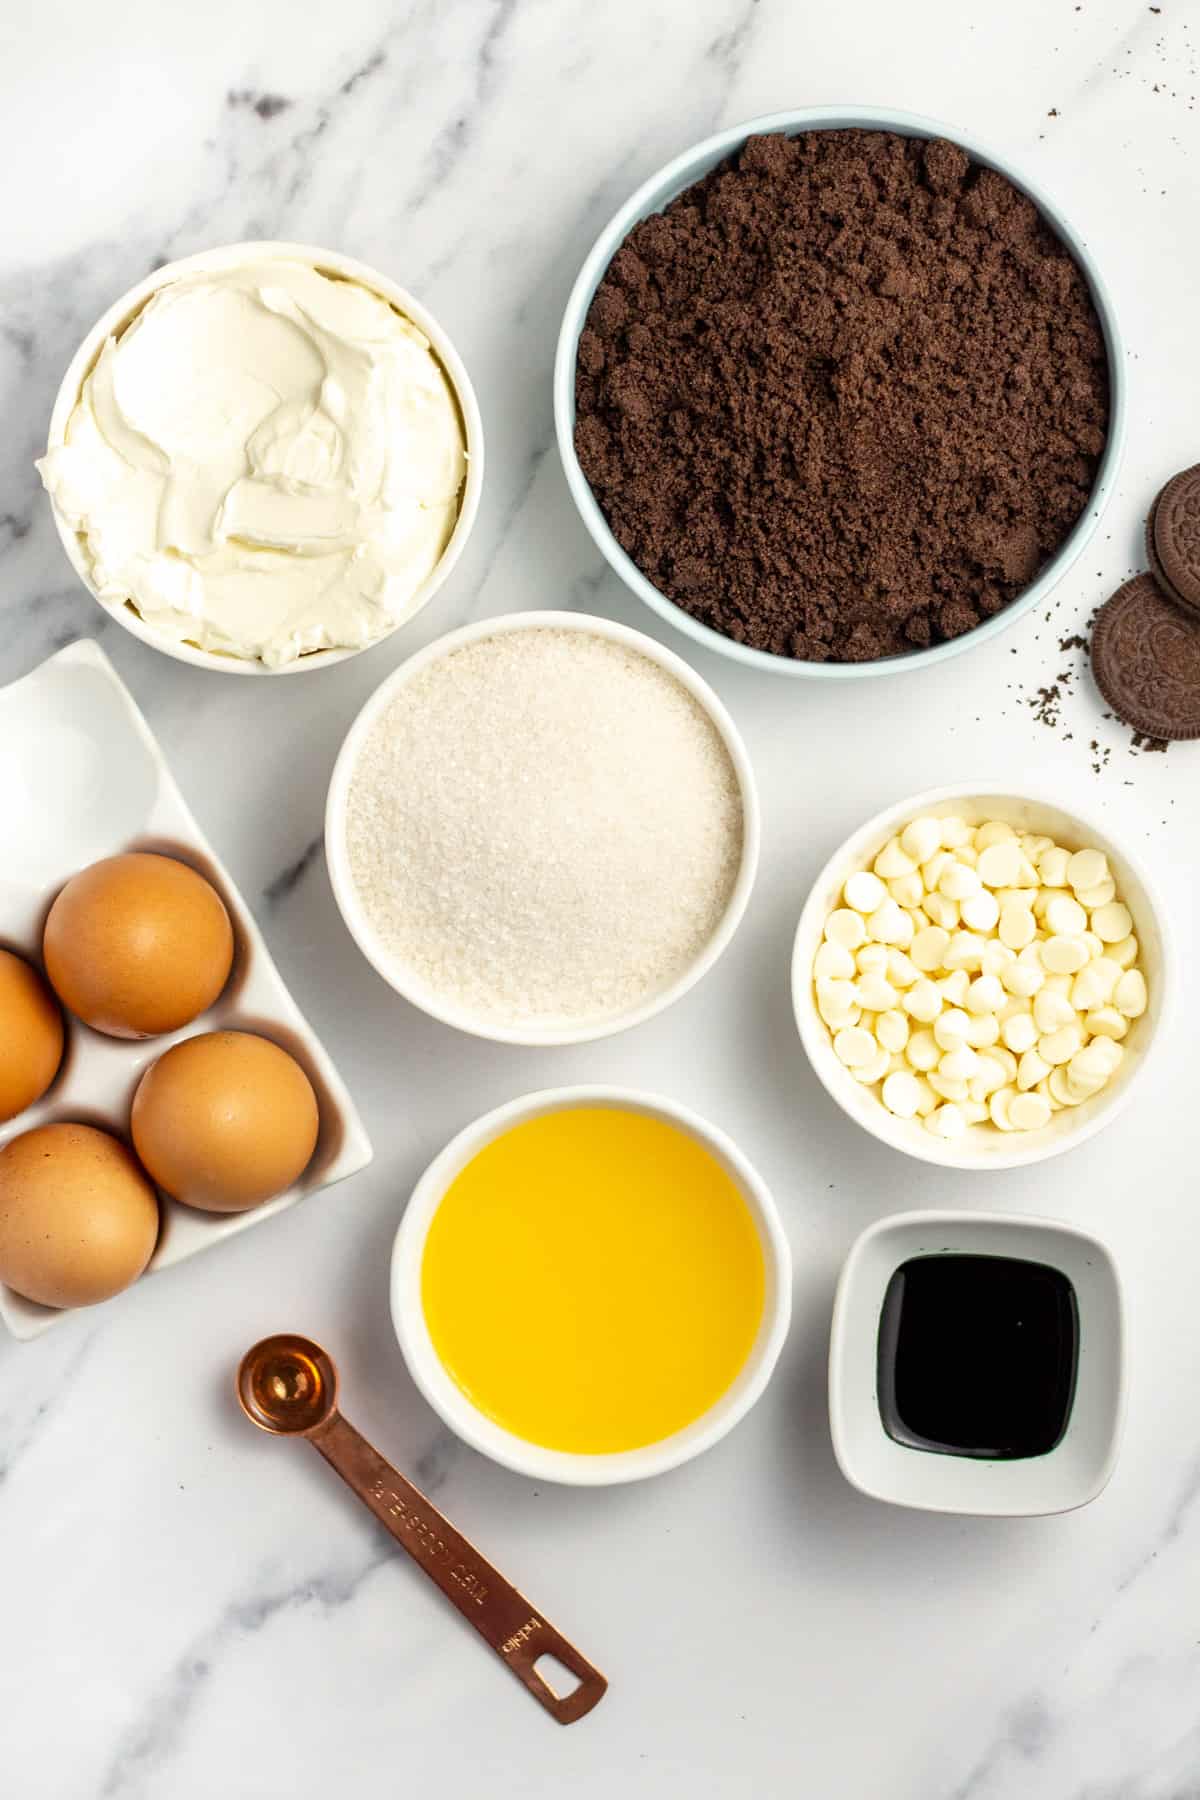
Chocolate Oreo Crust
The chocolate oreo cookie crust is made with:
- Crushed chocolate oreos, without their cream filling
- White sugar
- Melted butter
To make the oreo cookie crumbs, open the oreo and scrape the cream off with a knife. Then place the cookies in a bowl and crush with a wooden masher. Or, put them in a plastic baggie and crush with your hands or another heavy kitchen utensil.
The cookie crumbs are then mixed with white sugar and warm melted butter to make the crust. You can line just the bottom of the pan with the crust or the bottom and the side. If you want the chocolate crust on the sides of the cheesecake too, you'll need to double the amount you make.
Mint Chocolate Filling
The mint cheesecake filling is made with:
- Cream cheese: always use softened cream cheese to avoid lumps in the filling. Bring to room temperature before using, or soften in the microwave in 10-20 second increments.
- White chocolate chips: they should be melted or almost melted when adding to the batter so they incorporate smoothly. Substitute with creme de menthe baking chips for extra minty flavor!
- Peppermint extract: a substitution would be vanilla extract but you'll lose some of the mint flavor.
- Creme de menthe green liqueur: there are 2 versions, a green and colorless. Make sure to use the green, as it will give the cheesecake color. This mint flavored alcohol that is crucial to the flavor and coloring of the cheesecake filling. If you'd like a non-alcoholic substitution, use green food coloring but increase the amount of peppermint extract used by about 1 tablespoon.
- Eggs: just like the cream cheese, the eggs should be at room temperature or slightly warm before adding to the batter.
- White sugar
Cheesecake Toppings
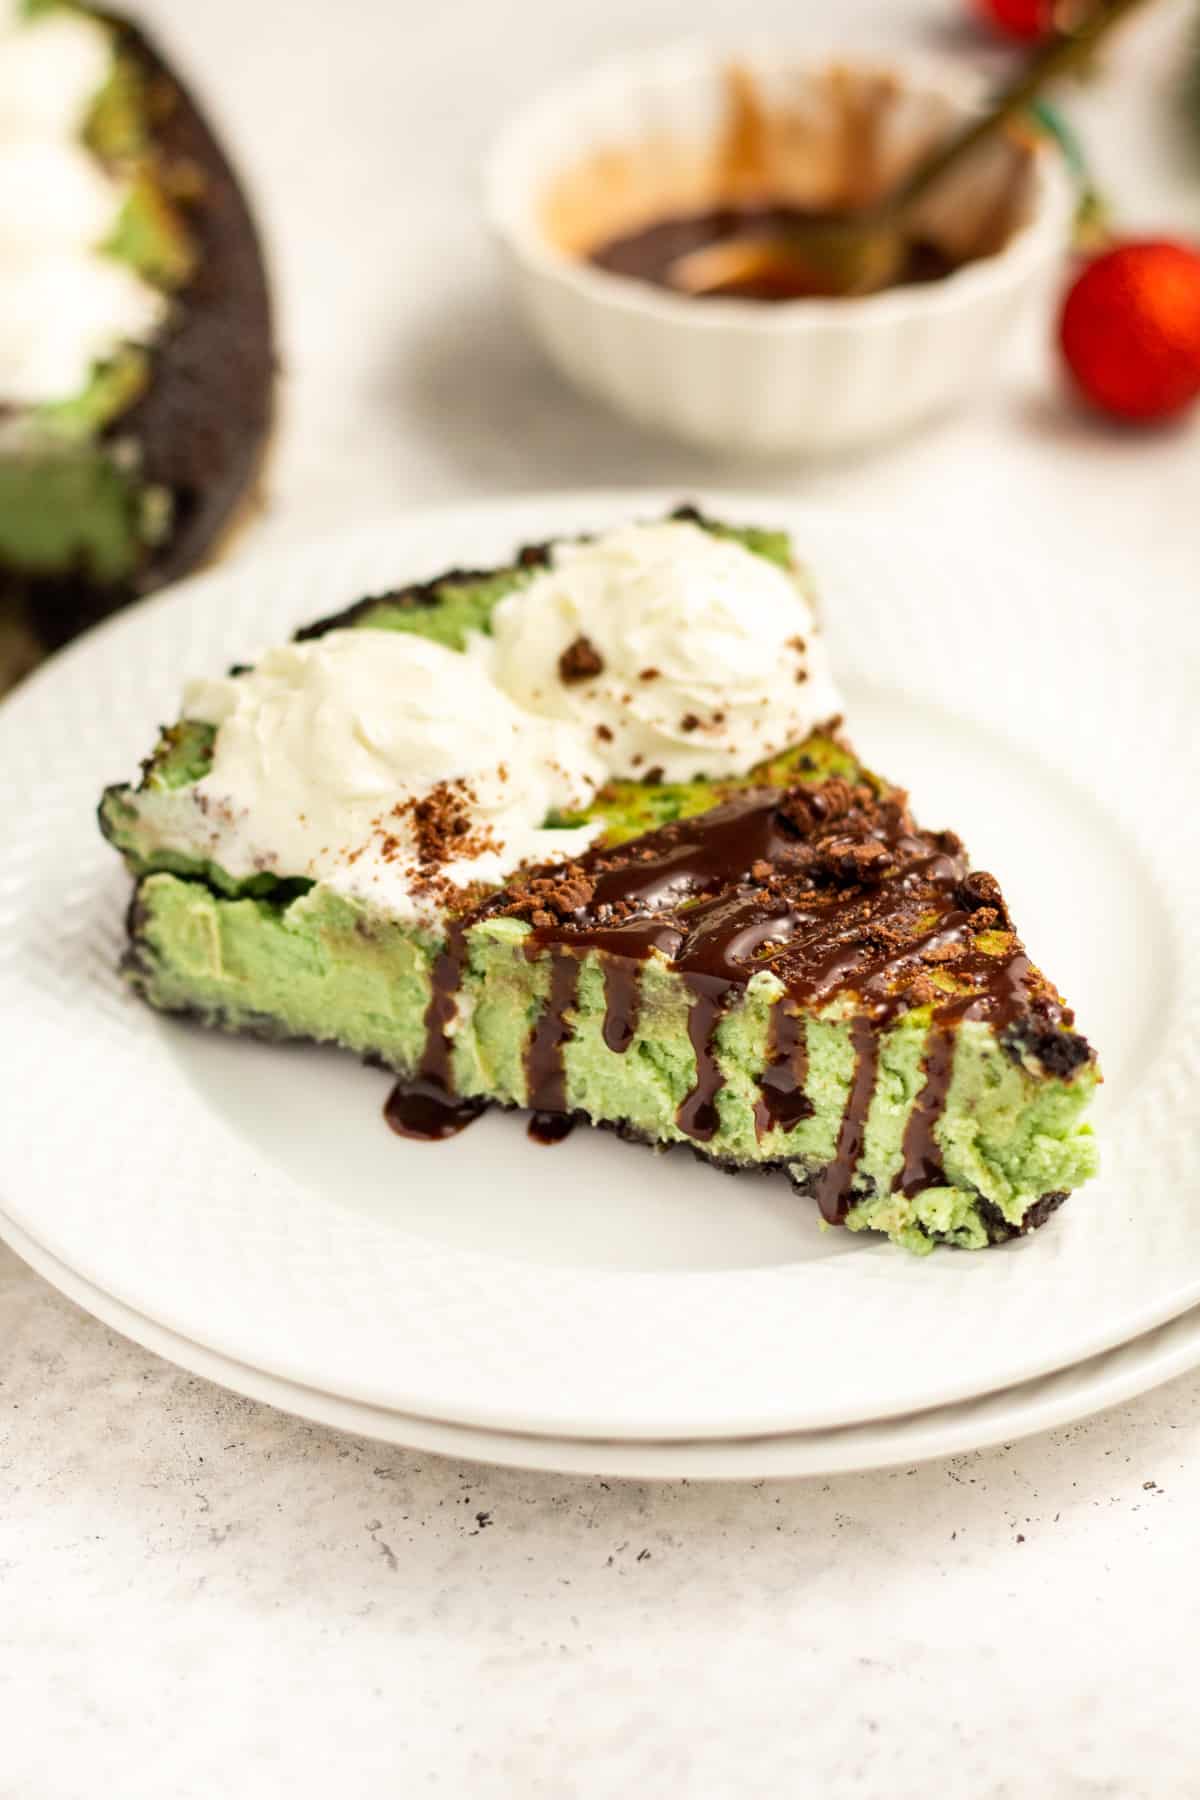
The best toppings for mint chocolate cheesecake are:
- Whipped cream: either peppermint whipped cream or traditional are both delicious on mint cheesecake.
- Chocolate ganache: always a favorite topping for chocolate lovers!
- Chocolate syrup: this homemade syrup makes a great topping, although store bought is fine too!
- White chocolate ganache: this recipe from another cheesecake makes a great alternative to traditional milk chocolate ganache.
Yield and Serving Size
This recipe yields a large cheesecake perfect for serving at large holiday gatherings or parties. It can be cut into 16 pieces, with each one being about 4 ounces.
The recipe can be scaled down by cutting it in half. Cut down all ingredients proportionally, except those used for the crust.
Equipment Needed When Making Cheesecake
You need a 9-inch springform pan, electric hand mixer (or stand mixer), a small pan (for the water bath), aluminum foil, and plastic wrap for storing. If scaling down the recipe, you can use a 7-inch springform pan.
For cheesecakes that use a crust with crushed cookies, you'll also need something to crush them with. I use a wooden meat tenderizer. Anything similar will work.
Tips For Making a Crack and Lump Free Cheesecake
Before making this mint chocolate cheesecake, please carefully read these tips for making a lump-free, crack-free and smooth creamy cheesecake.
- Make sure the cream cheese is very, very soft so it does not form clumps when mixed with the sugar. Let it come to room temperature for at least 1 hour before using. Do not keep it at room temperature for more than 2 hours, as bacteria will begin to form.
- Use slightly warm or room temperature eggs. Let the eggs come to room temperature for no more than 2 hours before using. Or, crack them into a small bowl and microwave for about 15 seconds before adding to the batter.
- Do not overbeat the eggs: the eggs are added during the last step and mixed into the batter for only about 20 seconds at low speed. This prevents them from putting air into the cheesecake, which could leave air pockets in the filling.
- Use a water bath: cheesecake loves humidity. For the perfect amount of humidity when baking in the oven, place a small pan filled with 1 inch of water at the bottom of the oven. This will create a moist environment and help the cheesecake rise without cracking.
- Allow the cheesecake to come to room temperature slowly: to prevent a sinking top, crack the oven when it's done cooking but leave the cheesecake inside. Leave it for 1 hour while it comes to room temperature. Then transfer to the counter, remove the side of the springform pan and let chill in the fridge for at least 4 hours (preferably overnight) before serving.
Step-By-Step Directions
STEP 1: Preheat the oven to 350° Fahrenheit. Place a small pan filled with 1 inch of water at the bottom of the oven to create a water bath. Grease the bottom and sides of springform pan generously with melted butter or cooking spray. Wrap the bottom of the pan with aluminum foil to prevent leaking.
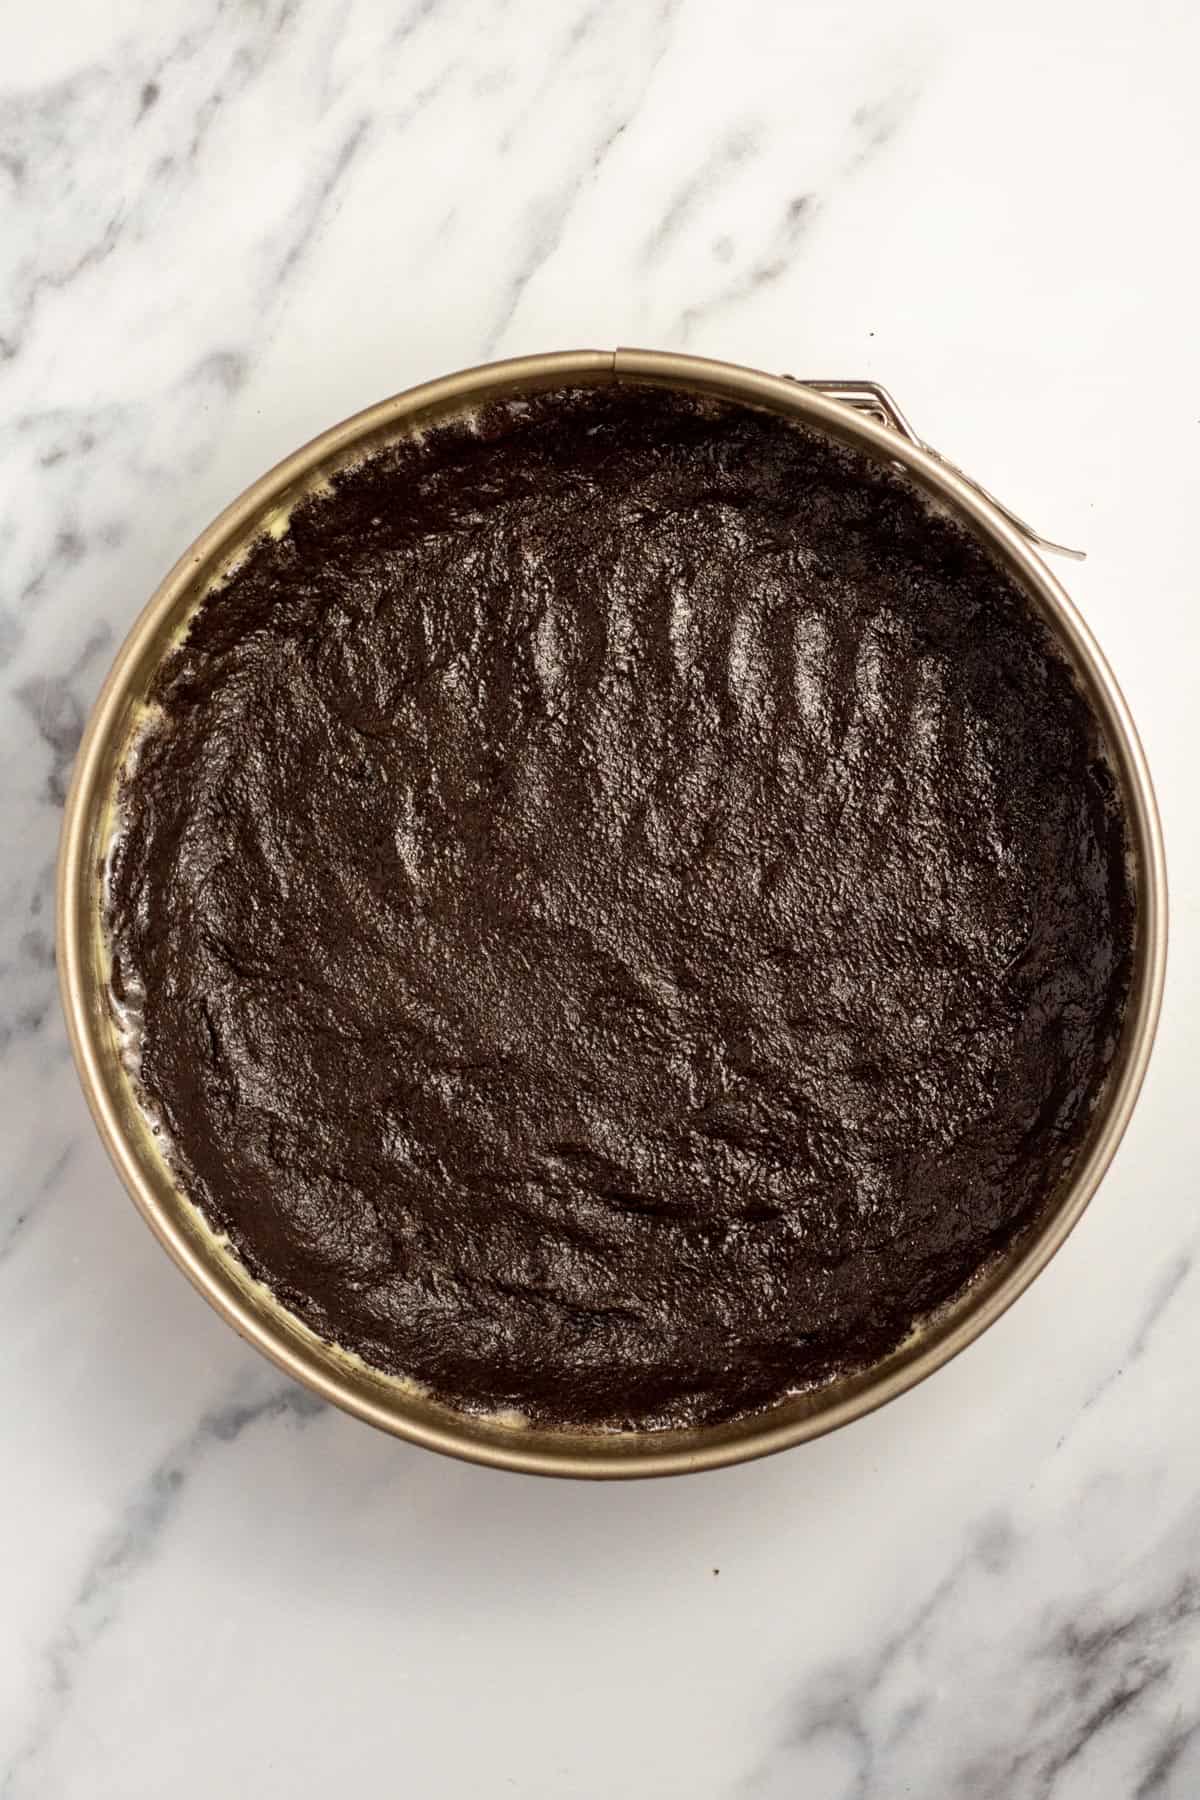
In a small bowl mix the crushed oreo crumbs, white sugar, and melted butter to make the oreo crust. Line the bottom of the cheesecake pan with the cookie crumble. Press down with your fingers so that it is packed firm. You can also press some of the crust up the sides of the pan.
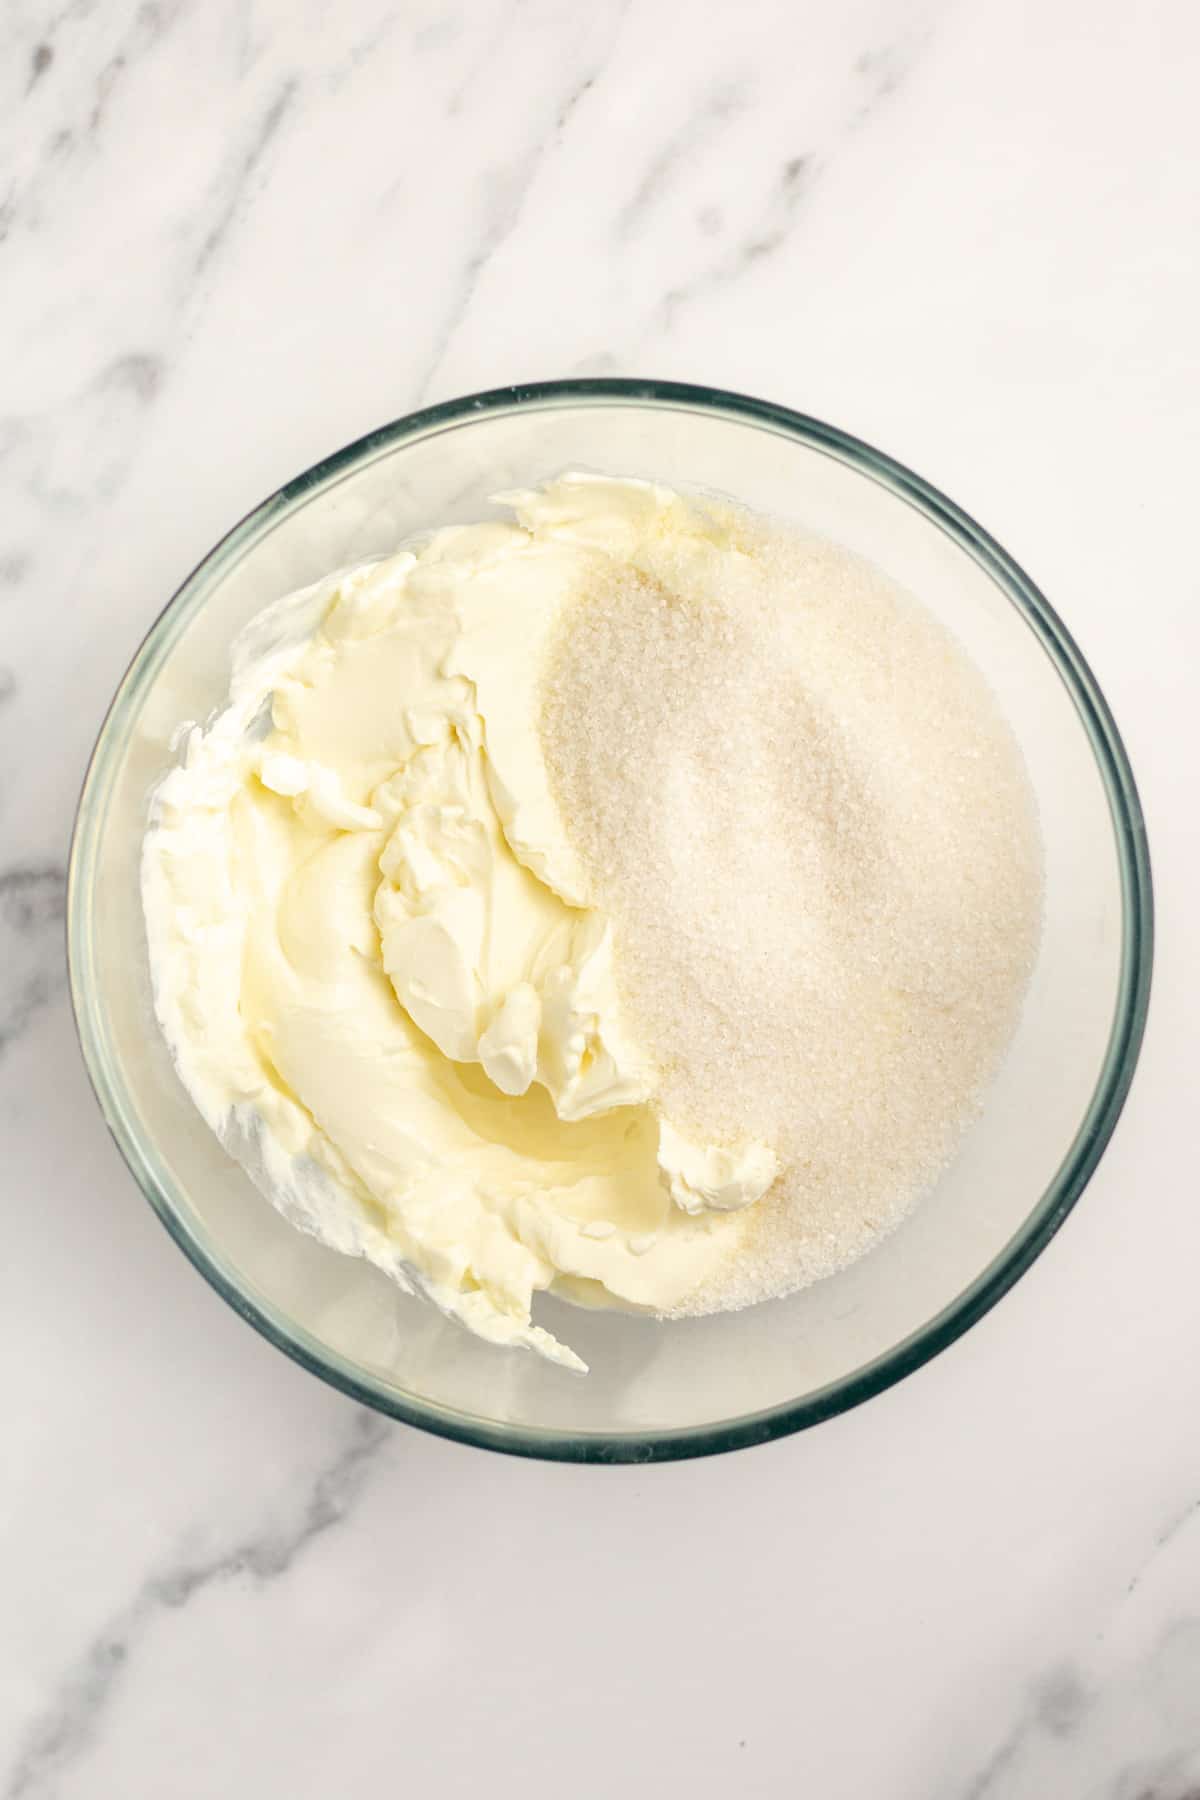
STEP 2: Use an electric hand mixer or stand mixer to beat the sugar and softened cream cheese on medium speed until smooth.
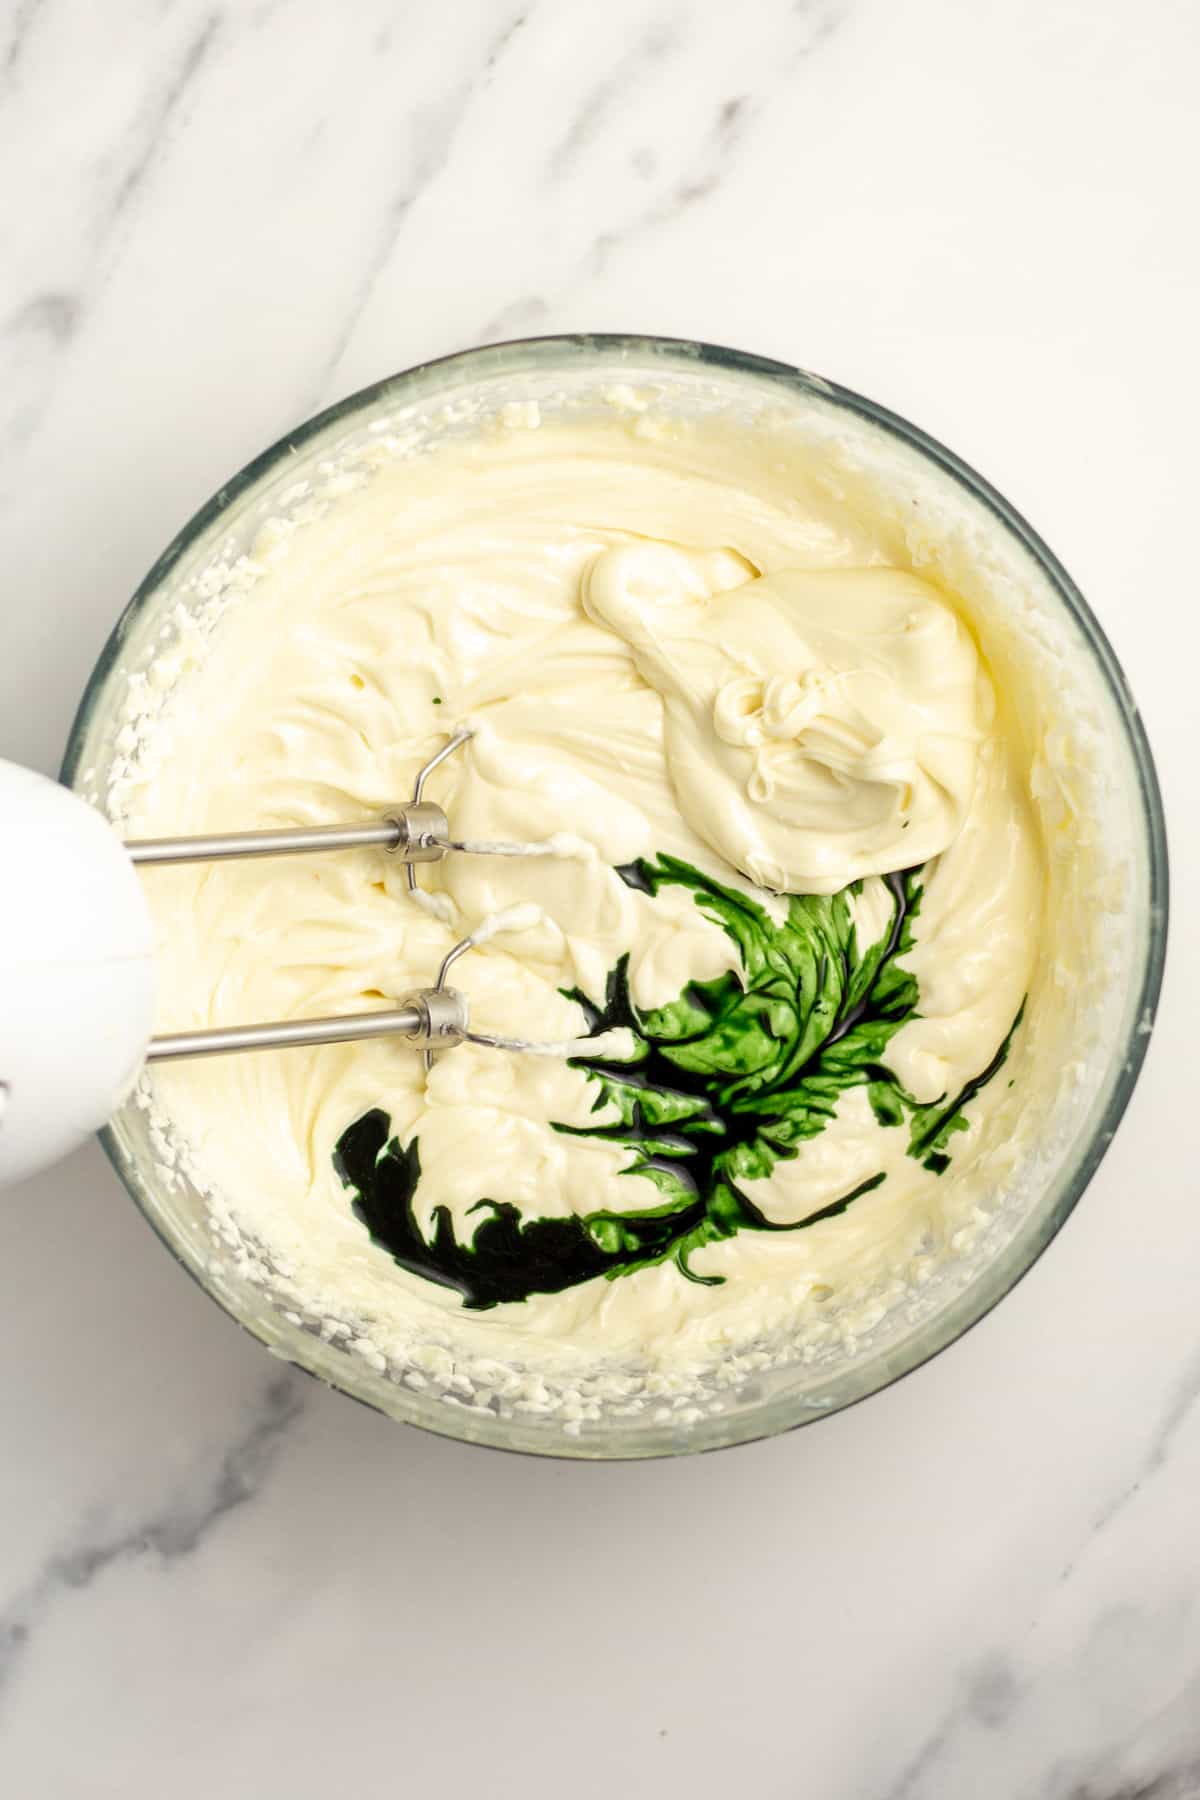
STEP 3: Add the peppermint extract, melted white chocolate chips and 4 tablespoons of the creme de menthe. Beat on medium speed until smooth. Taste, and add the remaining 1 or 2 tablespoons of creme de menthe if desired.
If you aren't using the creme de menthe, use 1 tablespoon of green food coloring and 1 tablespoon of peppermint extract. You can also use creme de menthe baking chips here in place of the white chocolate chips.
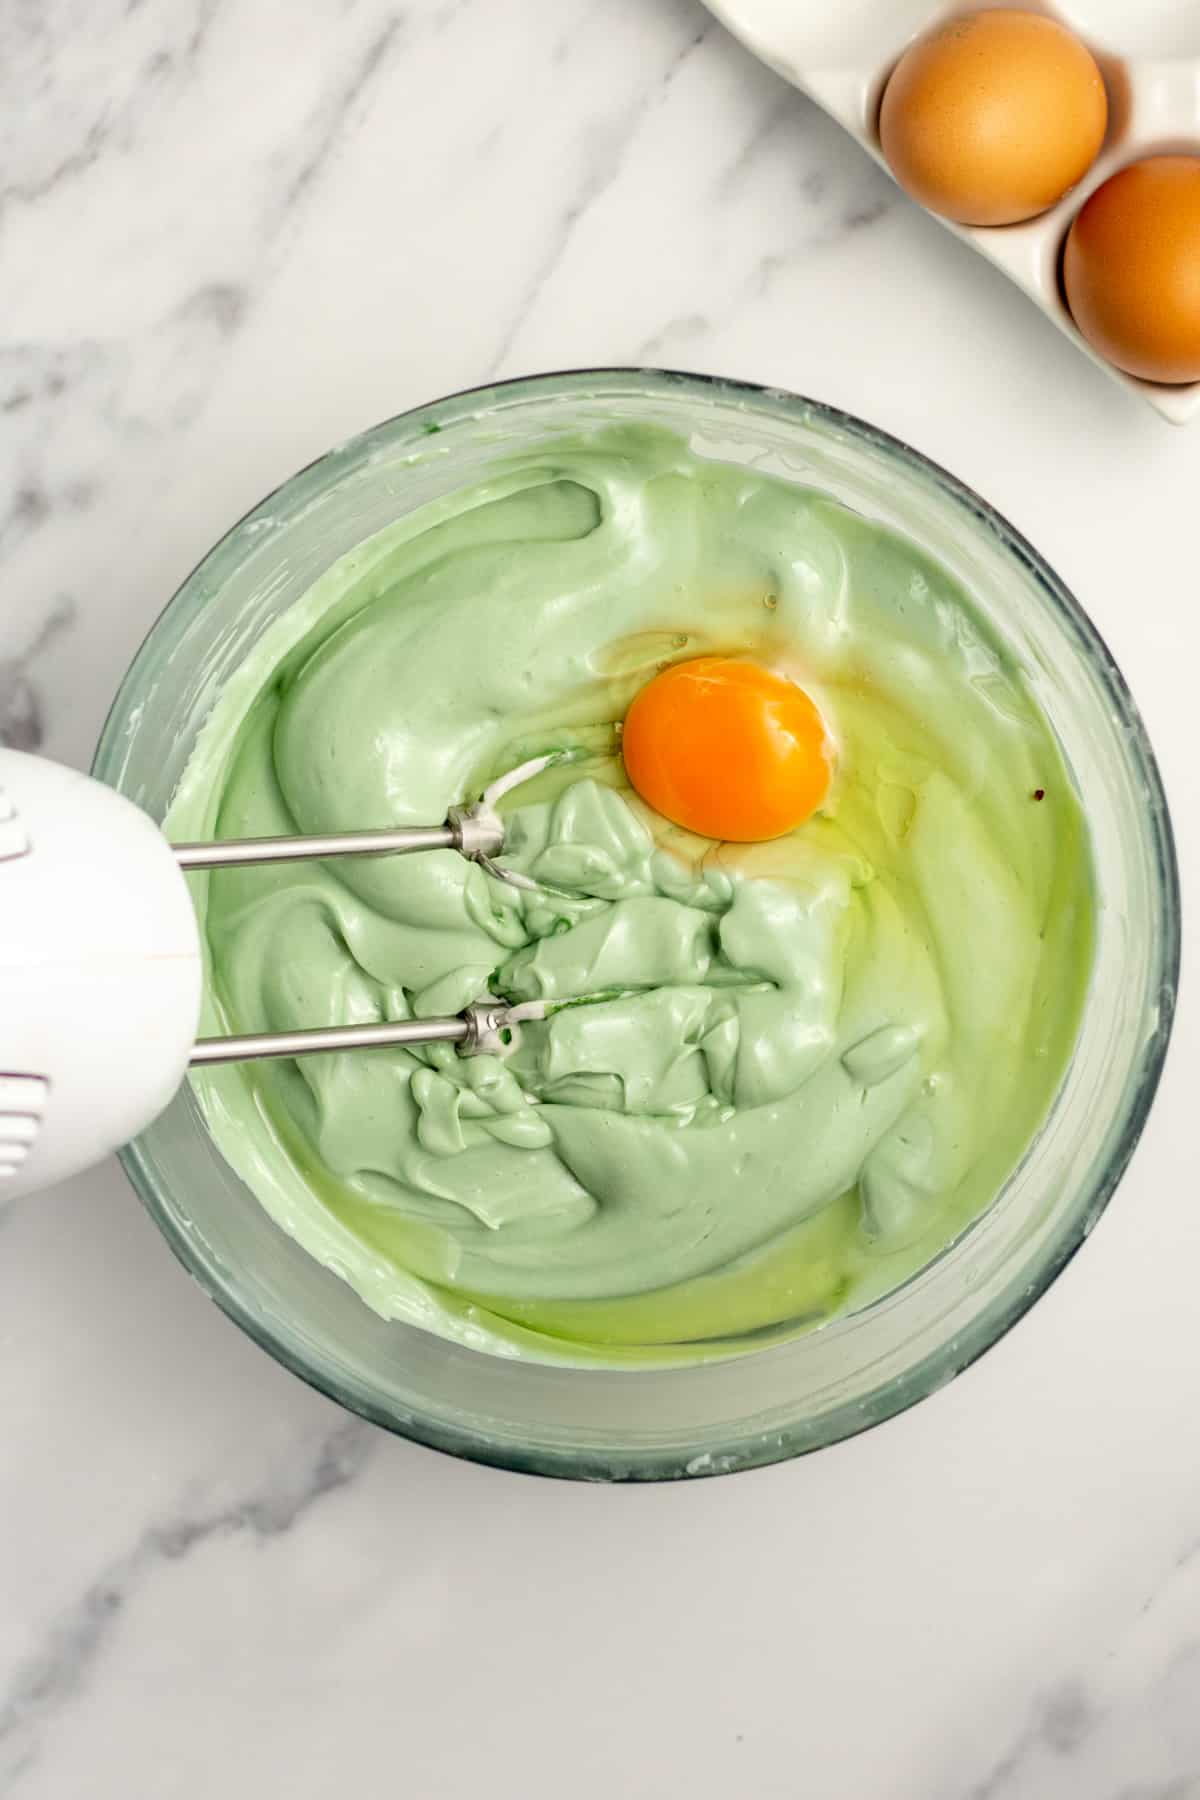
STEP 4: Add the eggs and beat on low until they are just incorporated, about 20 seconds. Be careful not to overmix or mix on a higher speed, as this could put too much air into the cake.
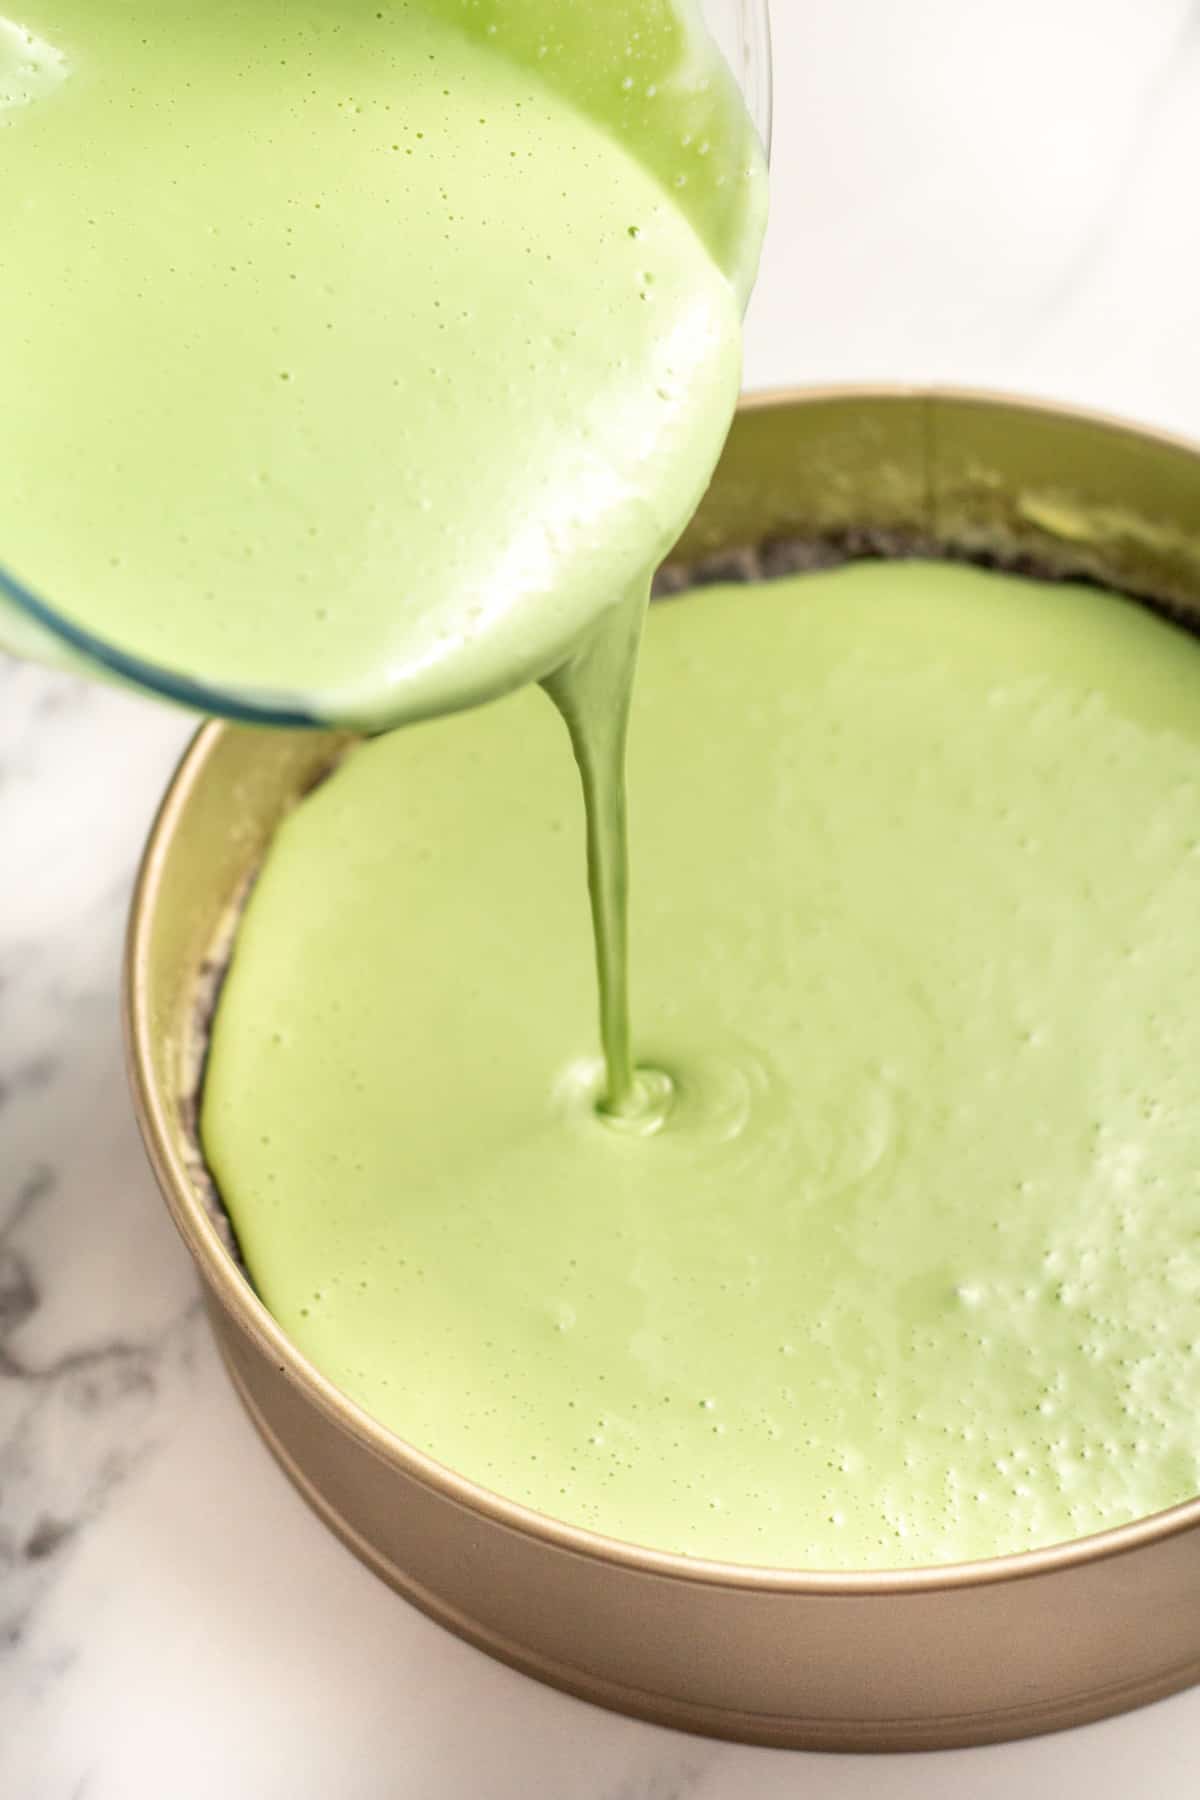
STEP 5: Pour the filling into the springform pan and put into the oven uncovered. Bake until the center no longer wiggles, approximately 60-75 minutes. When done, turn off the oven and crack open the door. Keep the cheesecake in the oven until it comes to room temperature, about 1 hour.
STEP 6: Transfer cheesecake to the counter and open the sides of the pan carefully. Cover with plastic wrap. Allow to chill in the fridge for at least 4 hours before adding your toppings and serving.
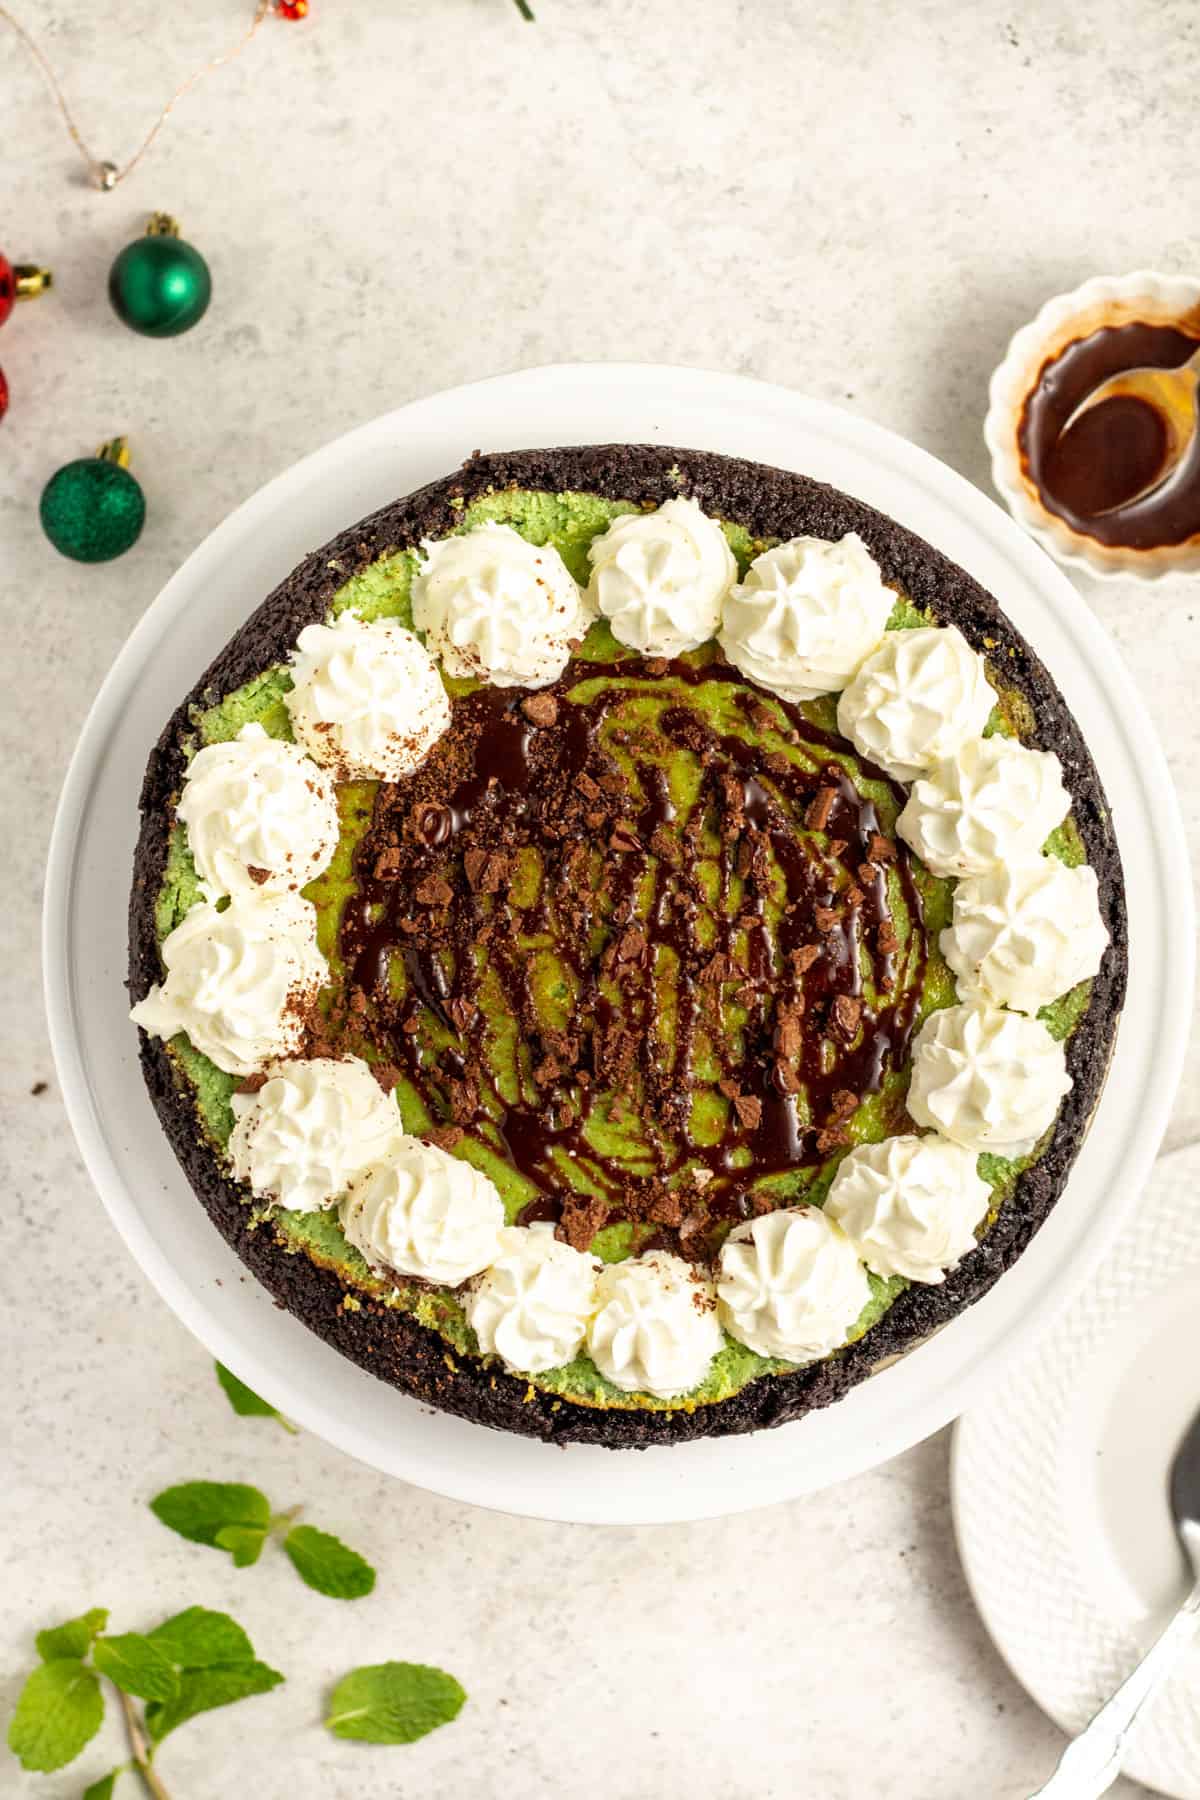
Enjoy!
Recipe FAQs
Since cheesecake contains dairy, it must be kept in the refrigerator. To keep it from drying out, wrap the cake in plastic wrap or foil. To avoid altering the top, return it to the pan and then wrap. A properly stored cheesecake will last up to 5 days in the refrigerator.
Yes, cheesecake can be frozen. Place the cheesecake whole or cut into slices on a piece of cardboard. Wrap in plastic wrap, then foil.
For optimal flavor, freeze cheesecake for up to 1 month. Two months is the max for freezer storage. Not ready to eat it that soon? Use leftover cheesecake to make a cheesecake milkshake.
Recipe
Mint Chocolate Cheesecake with Oreo Crust
Equipment
- springform pan
- electric hand mixer
- small round pan
- aluminum foil
- plastic wrap
Ingredients
For Crust
- 1 ½ cups oreo cookies crushed, without the cream
- ⅓ cup butter melted
- ¼ cup white sugar
For Cheesecake
- 32 oz cream cheese softened
- 1 ⅓ cups white sugar
- 1 teaspoon peppermint extract
- 1 cup white chocolate chips melted
- 4 tbsps creme de menthe liqueur *see notes for non-alcoholic substitution
- 4 eggs room temperature
Instructions
- Preheat the oven to 350° Fahrenheit. Place a small pan filled with 1 inch of water at the bottom of the oven to create a water bath. Grease the bottom and sides of the springform pan generously with melted butter or cooking spray. Wrap the bottom of the pan with aluminum foil to prevent leaking.
- In a small bowl mix the crushed oreo crumbs, ¼ cup of white sugar, and melted butter to make the oreo crust. Line the bottom of the cheesecake pan with the cookie crumble. Press down with your fingers so that it is packed firm. You can also press some of the crust up the sides of the pan.
- Use an electric hand mixer or stand mixer to beat the sugar and softened cream cheese on medium speed until smooth, about 60-90 seconds.
- Add the peppermint extract, melted white chocolate chips and 4 tablespoons of the creme de menthe. Beat on medium speed until smooth, about 60 seconds. Taste, and add the remaining 1 or 2 tablespoons of creme de menthe if desired. (see notes if not using the creme de menthe liqueur)
- Add the eggs and beat on low until they are just incorporated, about 20 seconds. Be careful not to overmix or mix on a higher speed, as this could put too much air into the cake.
- Pour the filling into the springform pan and put into the oven uncovered. Bake until the center no longer wiggles, approximately 60-75 minutes. When done, turn off the oven and crack open the door. Keep the cheesecake in the oven until it comes to room temperature, about 1 hour.
- Transfer cheesecake to the counter and open the side of the pan carefully. Cover with plastic wrap. Allow to chill in the fridge for at least 4 hours (preferably overnight) before adding your toppings and serving.






Comments
No Comments